Pasta Skeleton Project: Macaroni Activity Idea for Elementary
Below you’ll find a lesson for how to make a Pasta Skeleton project. Craft sticks provide a much needed sturdy base and an all natural wood look too.
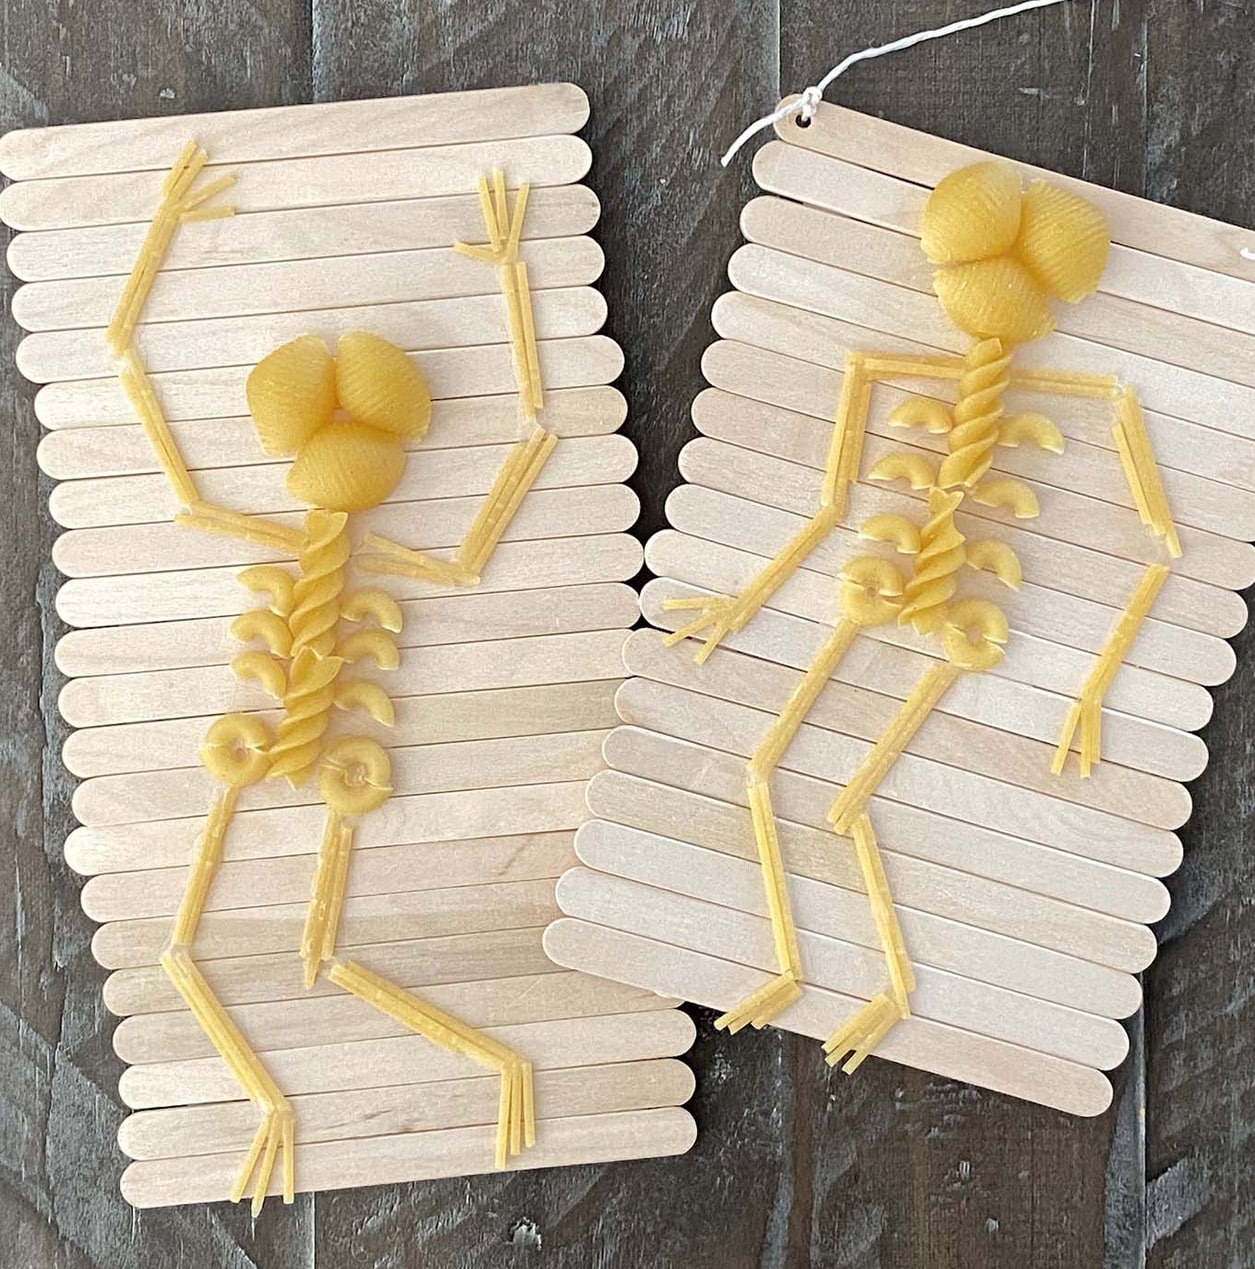
Pasta Skeletons
Pasta and Skeletons
The idea of making a pasta skeleton project has been around for awhile, and it’s easy to see why. The uncooked pasta does have the look and color of bones, so it makes for a fun and inexpensive craft project. On top of that, there’s a chance to learn a bit about the skeletal system with this fun pasta craft project.
As an art teacher with a design background though, the notion of making these skeletons on regular paper just left me feeling kind of “meh”. The paper always wrinkled, and the glue would run and leave streaks. And that didn’t cover how hard it is to move a floppy piece of paper around.
My solution? Panels made from craft sticks. They had a better (tall) proportion, didn’t wrinkle, and kept a kind of stylish eco-friendly look. Plus, everyone knows how cheap and plentiful they are.
Years of trying this with all levels of elementary students taught me a few things about this Halloween craft for kids, which I am happy to share below.
Tips for Making your Best Pasta Skeleton Project
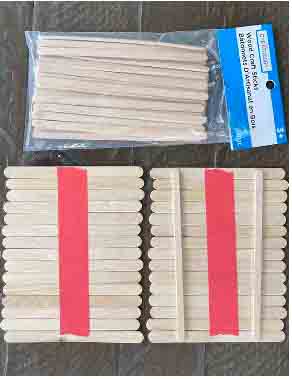
- Students can make their own boards. They can count out their needed sticks and then taping them together with masking tape on the back. After the glue is dried, the boards are sturdy and ready for display.
- Craft glue is essential. It really helps things dry quickly and stay in place. I bought large bottles and kept small amounts in little plastic souffle cups with lids. Extra craft sticks were good for spreading it around.
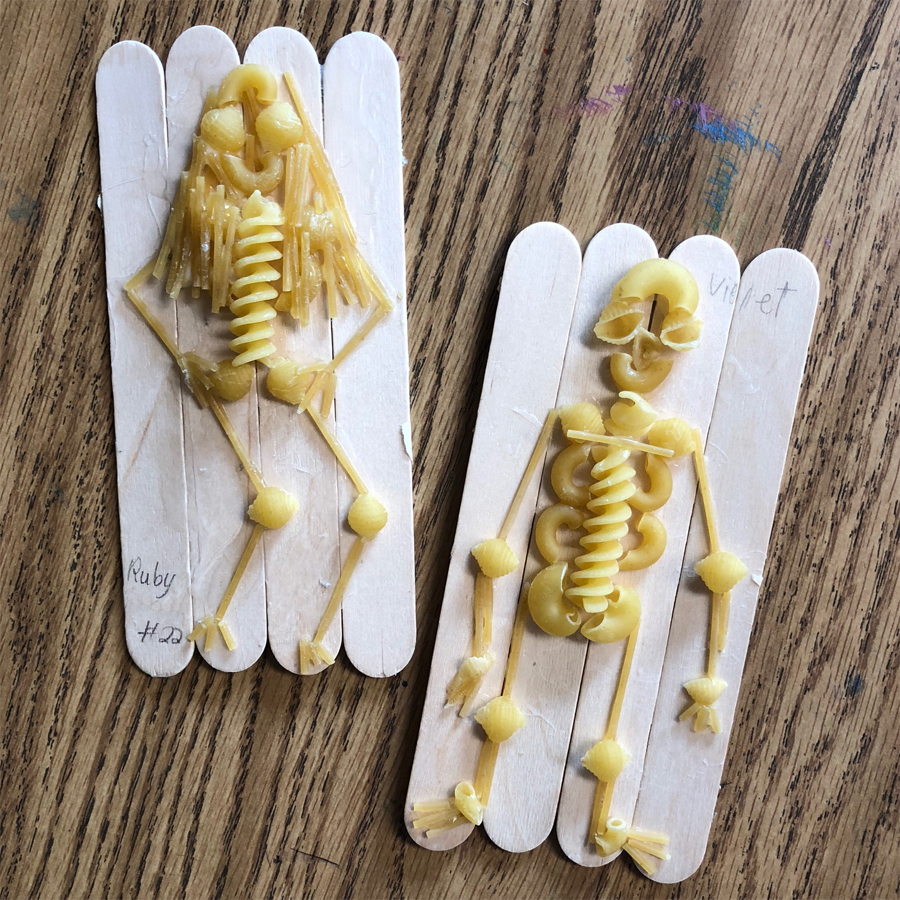
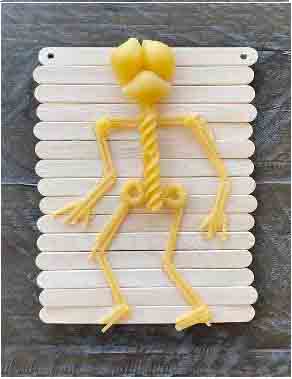
- This doesn’t have to be a kinder of first grade project. Older students (3rd through 5th grade) will be able to add much more detail (see the photo below).
Subscribe to “The Daily Draw” below to get this free PDF!
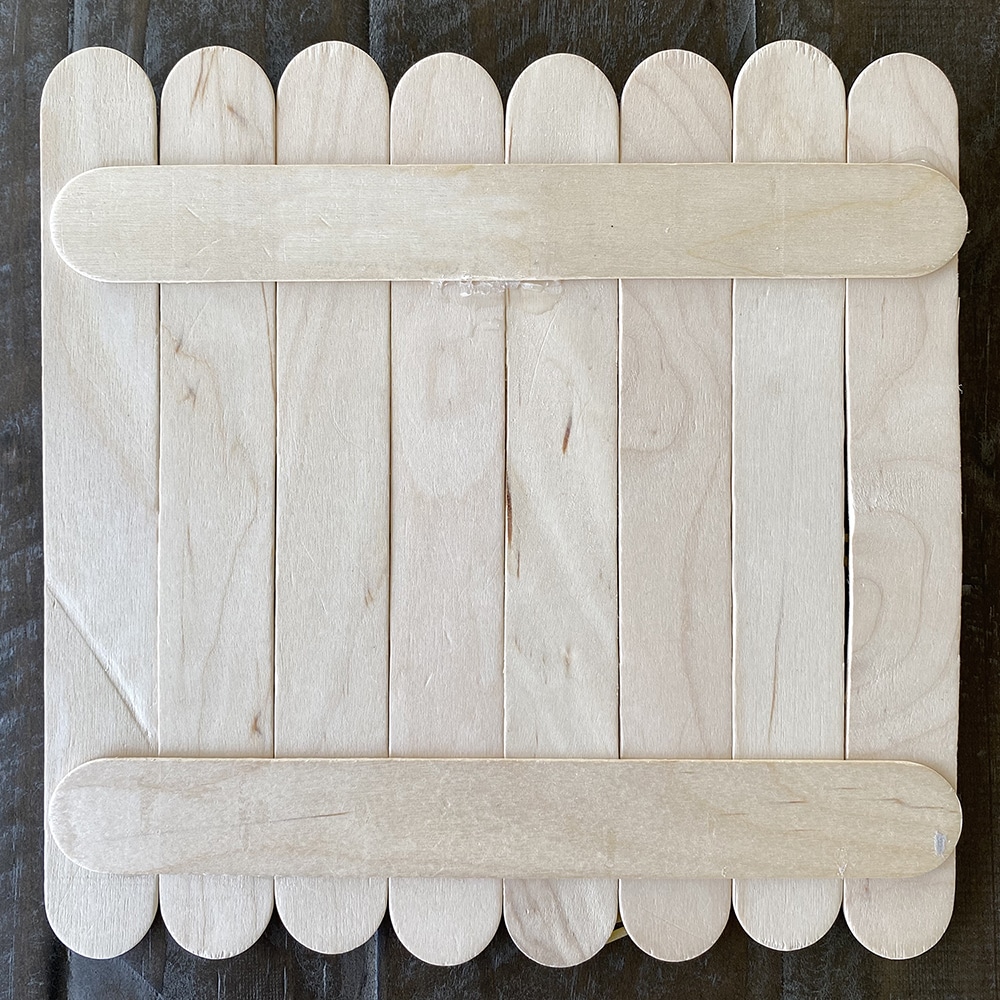
Pasta Skeletons made with Jumbo Sticks


Craft Stick Board Options

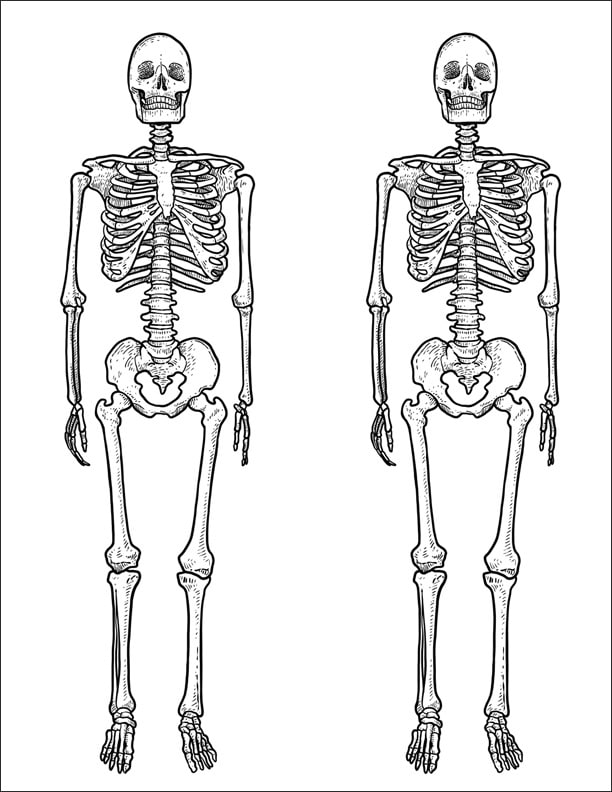
Skeleton Sheet for Reference
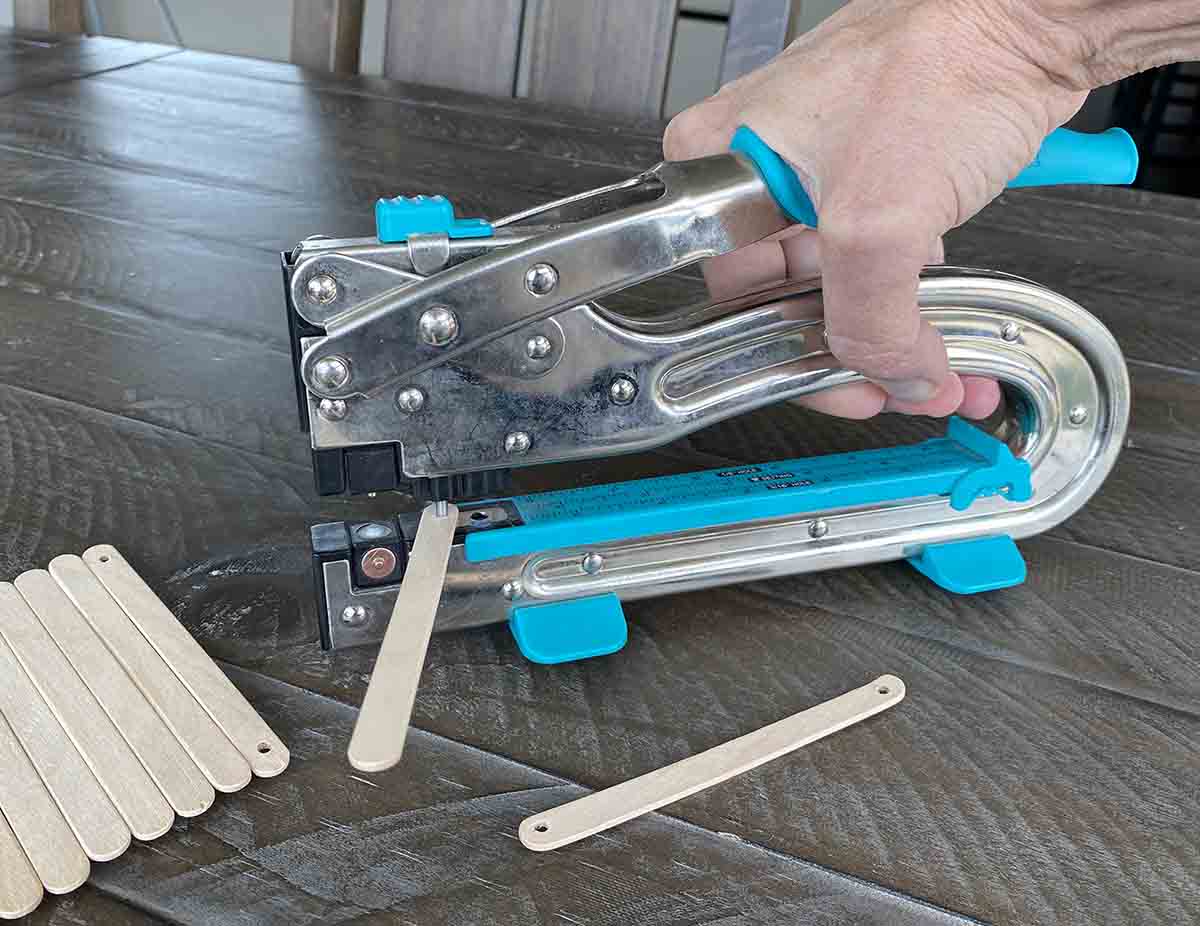
Want to Hang your Pasta Skeleton?
The super industrial tool is made to do lots of different things, but I found it perfect for just plain old hole punching in craft sticks. It’s easy to use, and can make two different size holes. This is the smaller one. Mine is about 10 years old, has been solved many a hole punching problem.
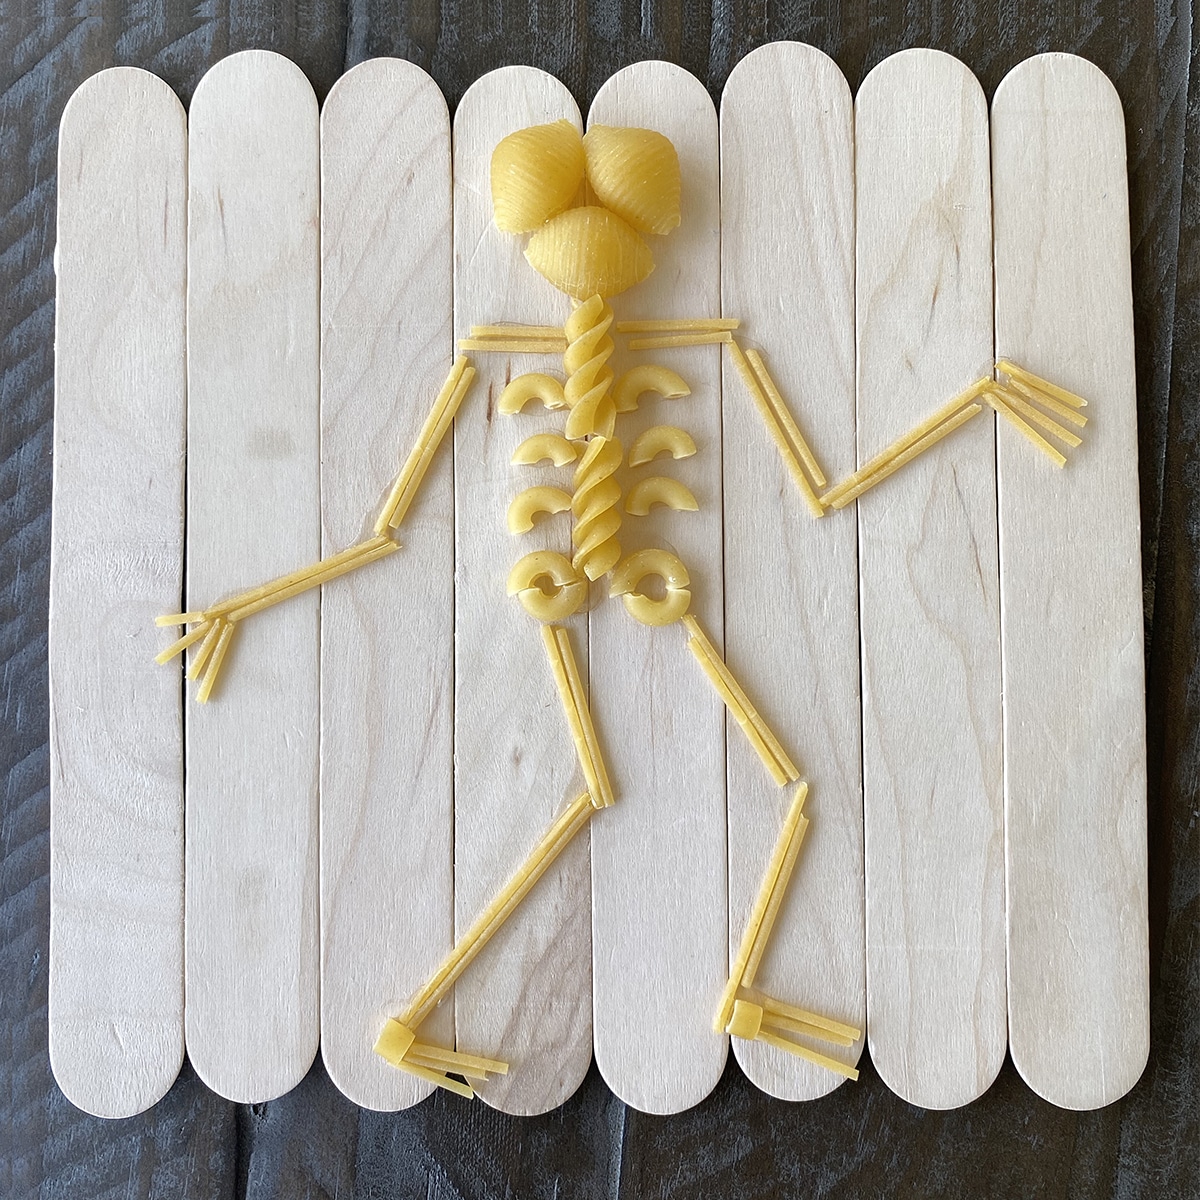
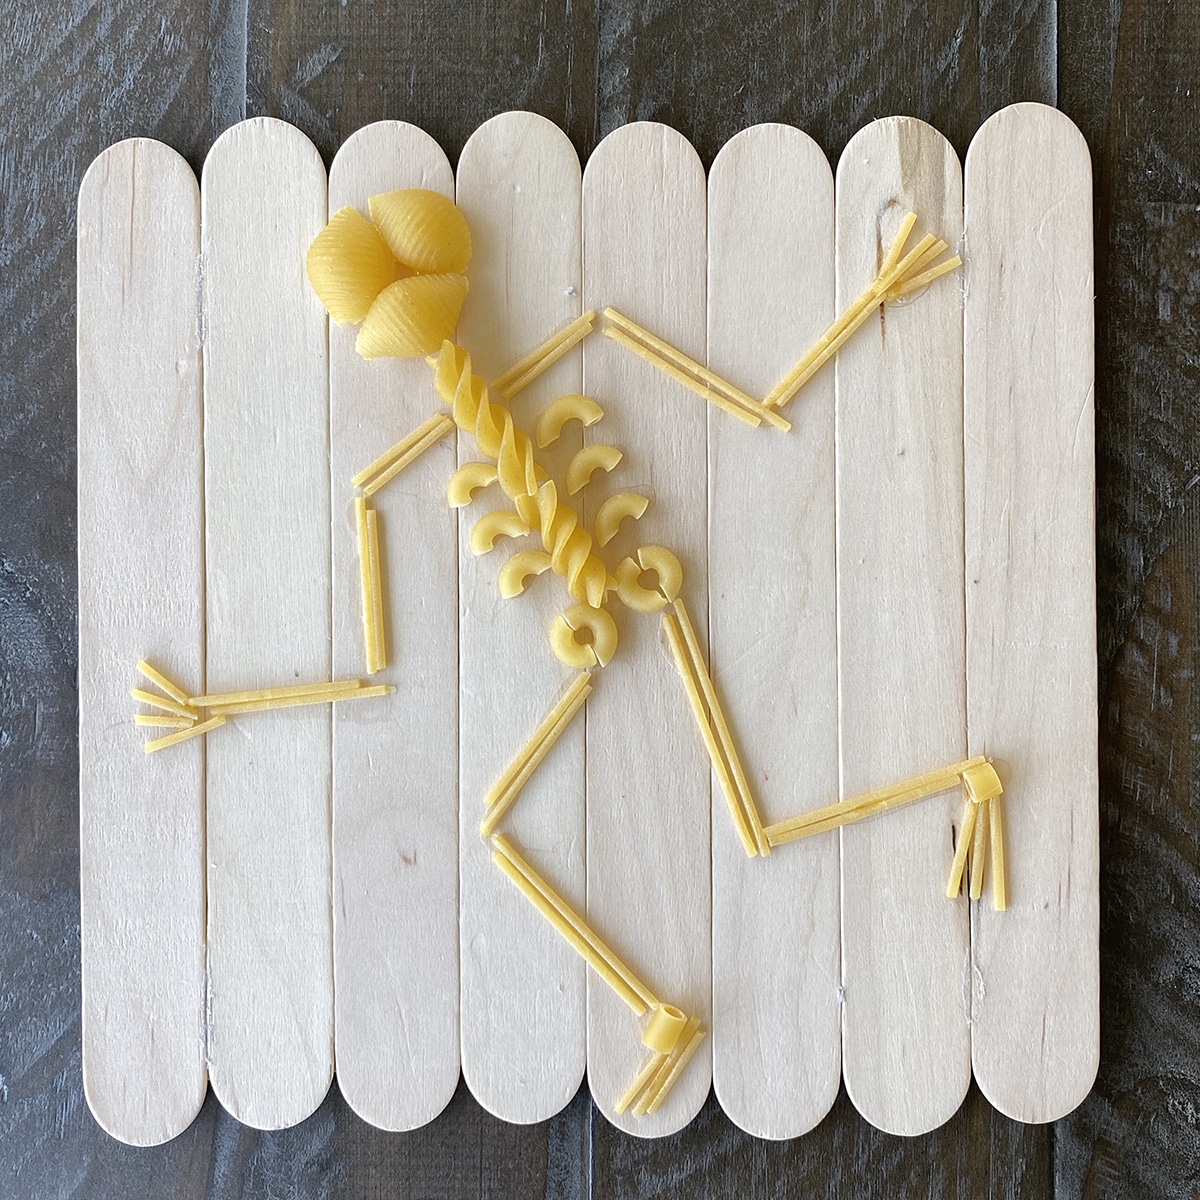
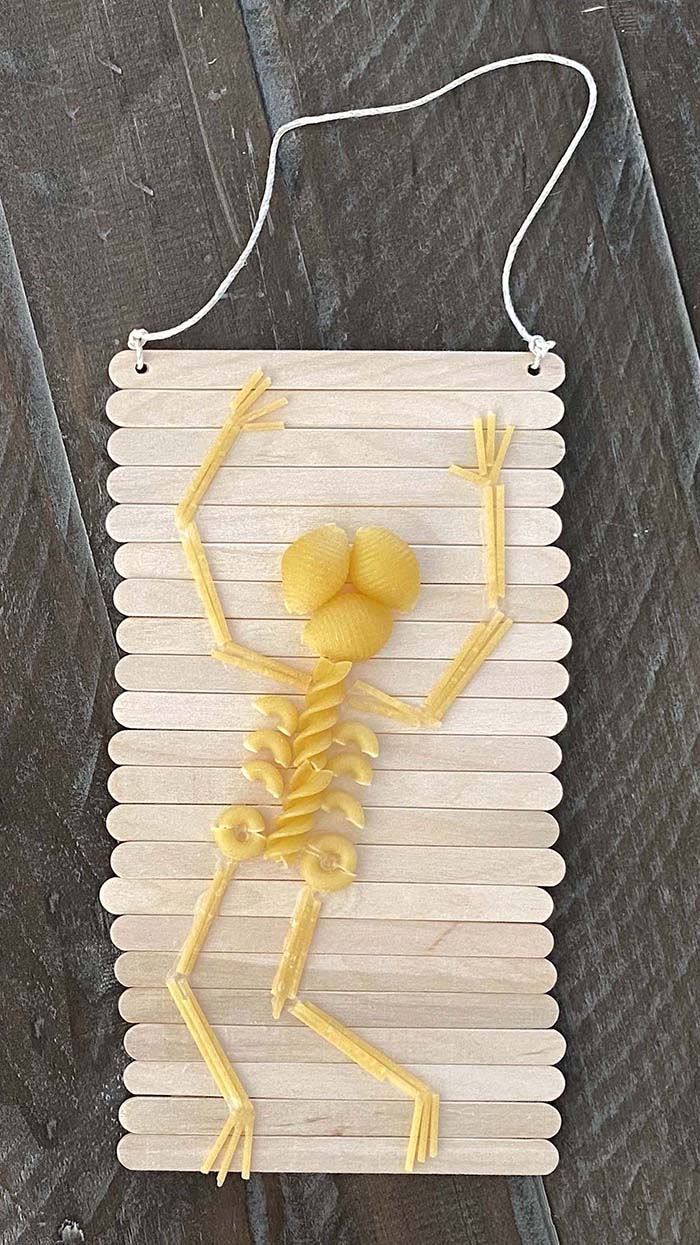
Pasta Skeleton with Extra Detail
Materials to Make a Pasta Skeleton
- Craft Glue* (highly recommended, the clear kind if you can)
- Craft Sticks* 4.5 inch, OR
- Craft Sticks Jumbo*
- Masking Tape
- Pasta: Macaroni, spaghetti, shells, rotini, etc.
- Note: All of the above are Amazon affiliate links*
Directions to Make a Pasta Skeleton
Time needed: 45 minutes
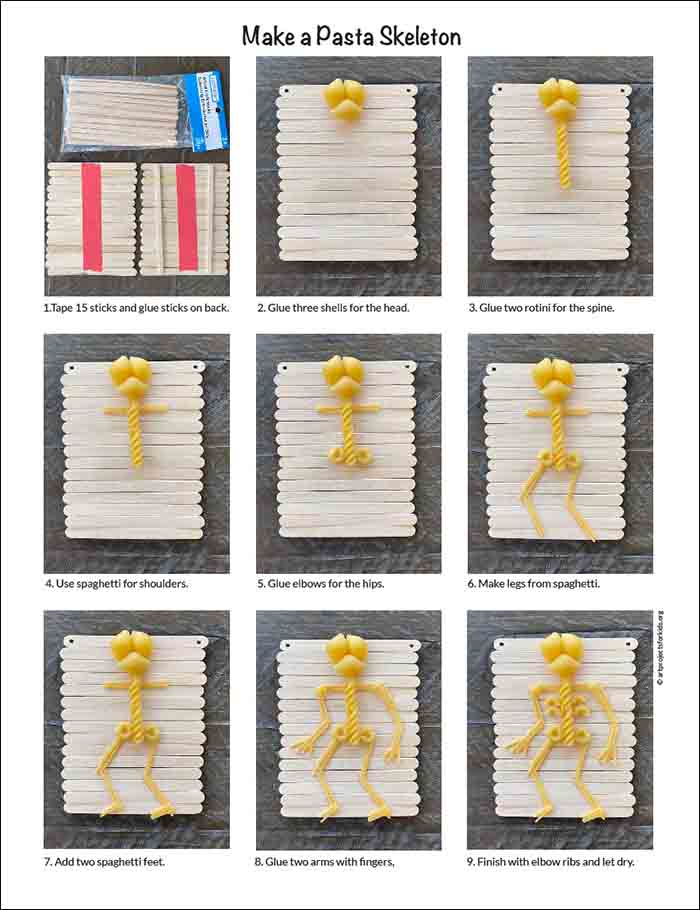
How to Make a Pasta Skeleton
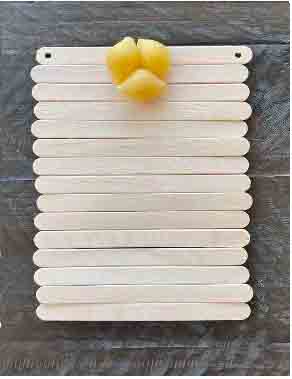
- Tape 15 regular sticks and glue skinny sticks on back.

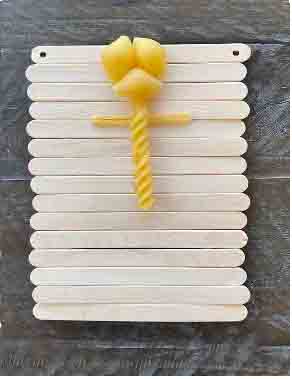
- Glue three shells for the head.
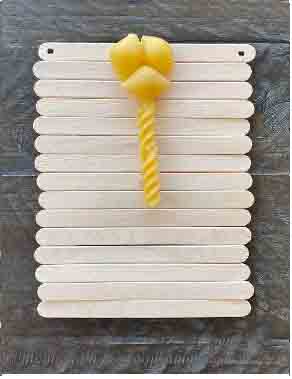
- Glue two rotini for the spine.
- Use spaghetti for the shoulders.
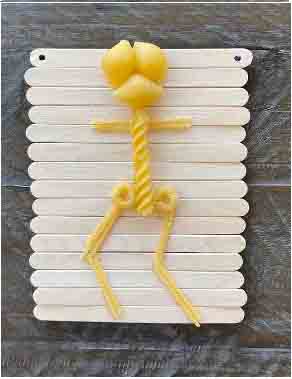
- Glue elbows for the hips.
- Make legs from spaghetti.
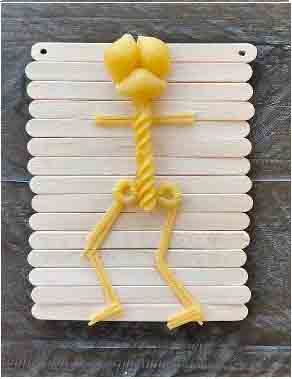
- Add two spaghetti feet.
- Glue two arms with fingers.
- Finish with elbow ribs and let dry.


Already subscribed to “The Daily Draw”?
Great, then use the download button below to get your free Circle Tree tutorial.
And thanks for wanting to bring more step-by-step, no-prep art lessons to your classroom!


One Comment