1st Grade | 2nd Grade | 3rd Grade Art Projects & Lessons | 4th Grade Art Projects | 5th Grade | 785+ Drawing Videos for Children | Abstract Art | Art History | Art History Portraits | artist Picasso | Crayons | Drawing | People | Self Portraits
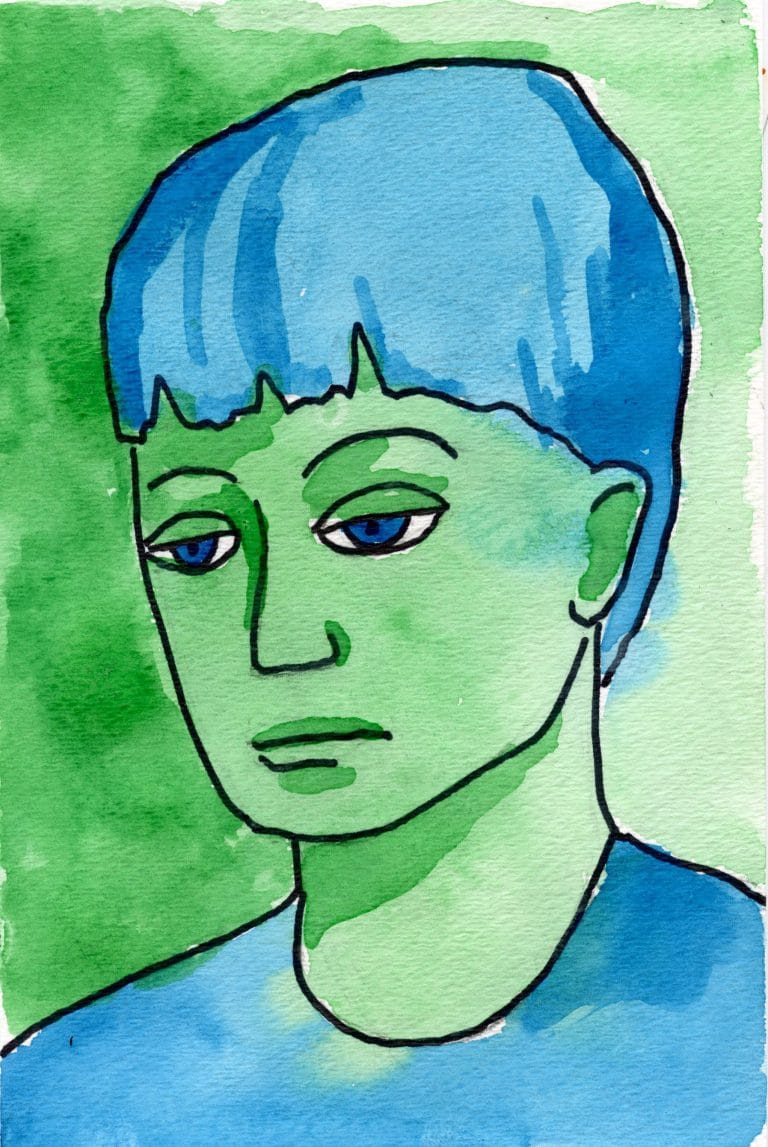
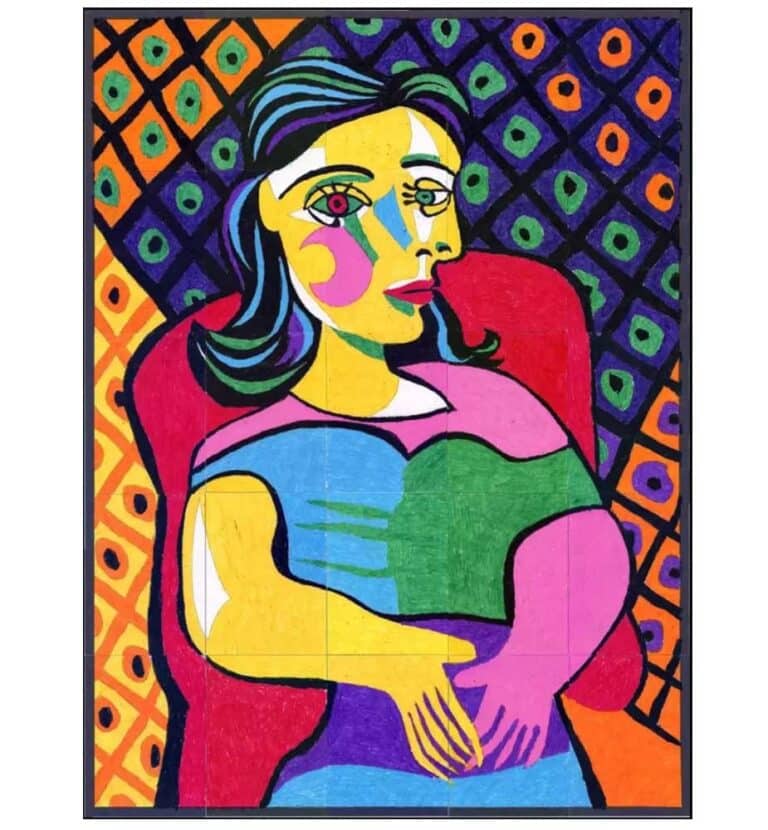
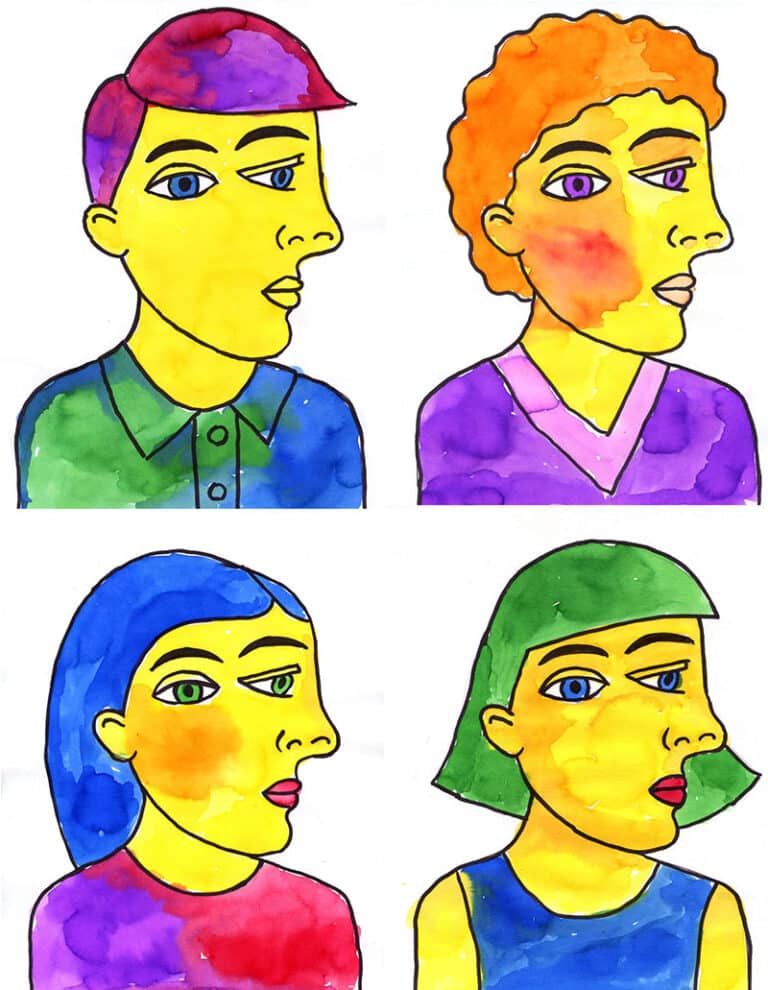
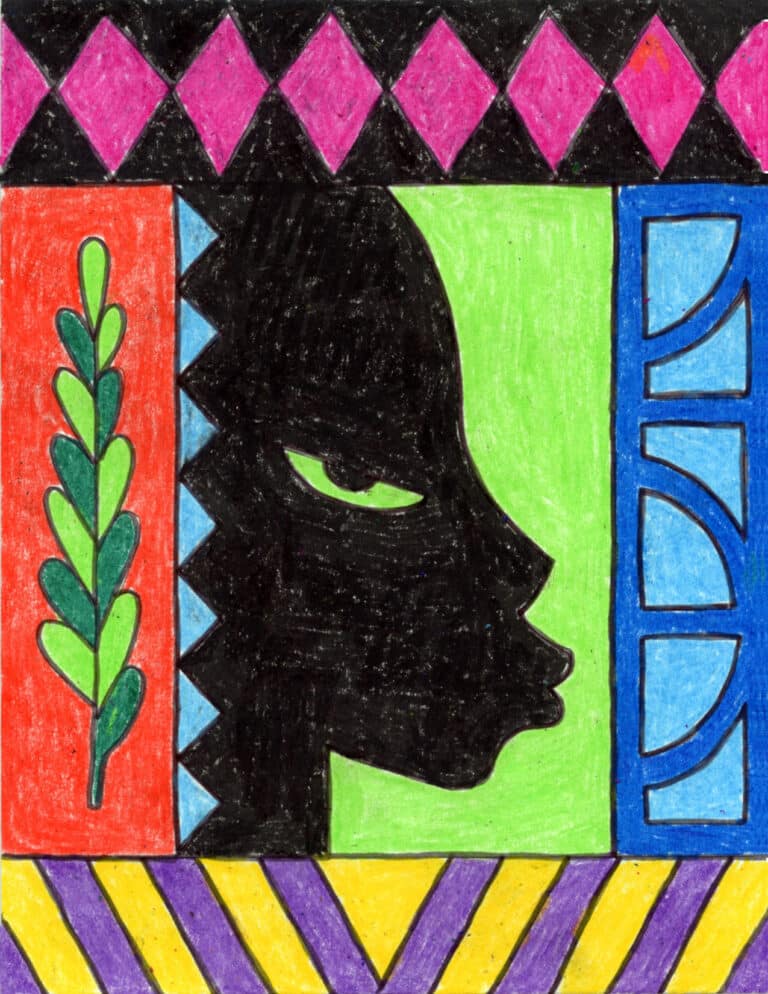
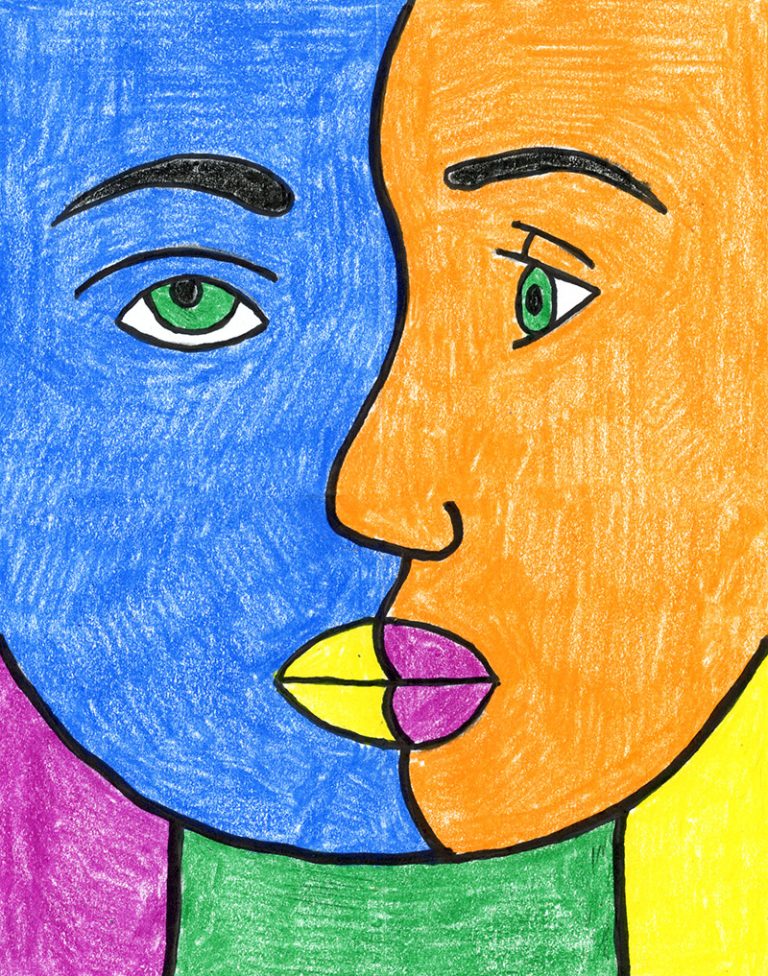
How to Draw a Picasso Art Project: Easy Step-by-Step Art Lesson for Kids
GRAB YOUR PICASSO ART LESSON >> Here you’ll find an easy step-by-step tutorial for a Picasso Art Project Video and Picasso Coloring page. It also teaches a bit about cubism. Picasso Drawing Picasso and Drawing This Picasso art project began as an oil pastel project years ago, and did lend itself well to the painterly…