28+ Black History Month Art Projects and Drawing Ideas for Kids | 3rd Grade Art Projects & Lessons | 4th Grade Art Projects | 5th Grade | 785+ Drawing Videos for Children | Art History | Black Artists | Crayons | Drawing | People
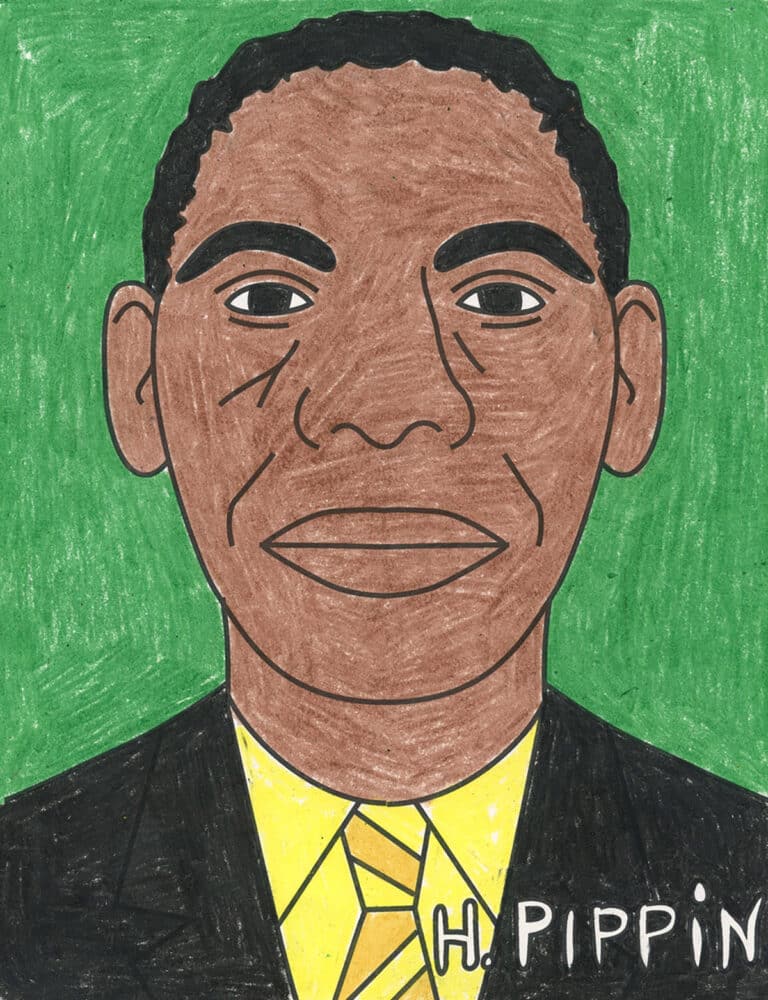
Horace Pippin Self Portrait Drawing: Easy Black History Art Lesson for Kids
Here you’ll find an easy step-by-step tutorial to add to your Black History Month Artists: Horace Pippin. His work was often about the issue of slavery and racial segretation. Horace Pippin Here’s another name to add to your Black History Month Artists list — Horace Pippin. He was a self-taught American artist who painted a…