172+ Fourth Grade Art Projects & Drawing Lessons
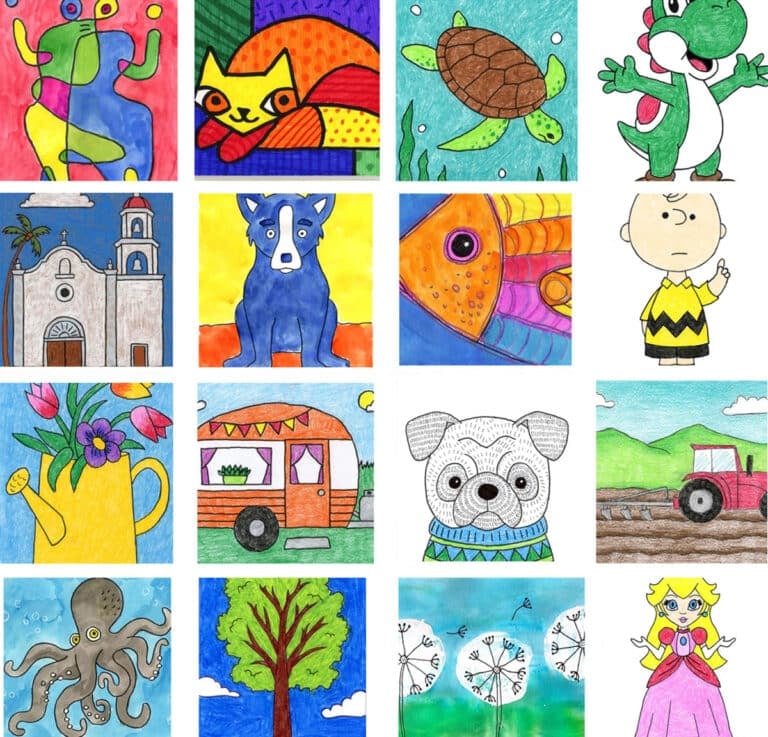
Explore 172+ fourth grade art projects in lots of media and themes. Save planning time with ideas perfectly sized for 4th grade. Fourth Grade Art Projects Collection Fourth grade is such a fun age to teach art because students are ready for more independence, but they still thrive with clear steps and strong visuals. This…