3rd Grade Art Projects & Lessons | 4th Grade Art Projects | 5th Grade | 785+ Drawing Videos for Children | Back to School Art Project Ideas | Crayons | Drawing | Markers | People | Self Portraits
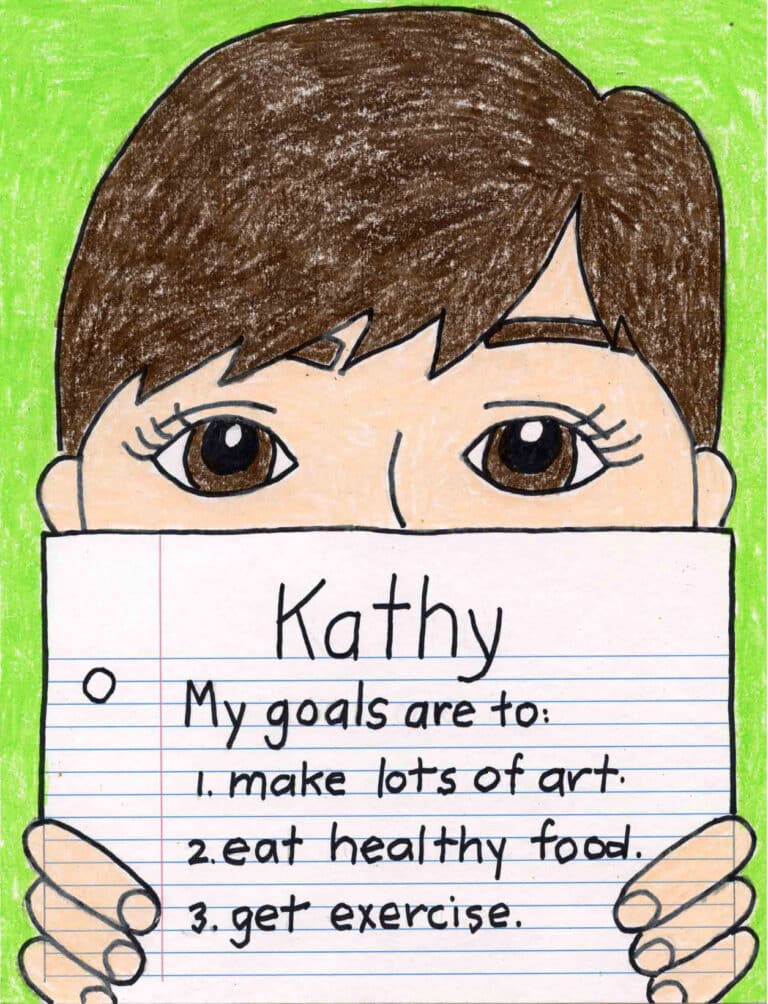
My Goals Self Portrait Template: Back to School Goal Setting Project for Elementary
GRAB YOUR GOALS ART LESSON >> Here you’ll find an easy step-by-step tutorial for how to draw a Goals Self Portrait Tutorial Video. There’s a bit of drawing, writing and goal-setting in this project. Goals Drawing Goals Drawing Ideas from Students Why Draw a Goal Self Portrait? Please note that my PDF tutorial does include…