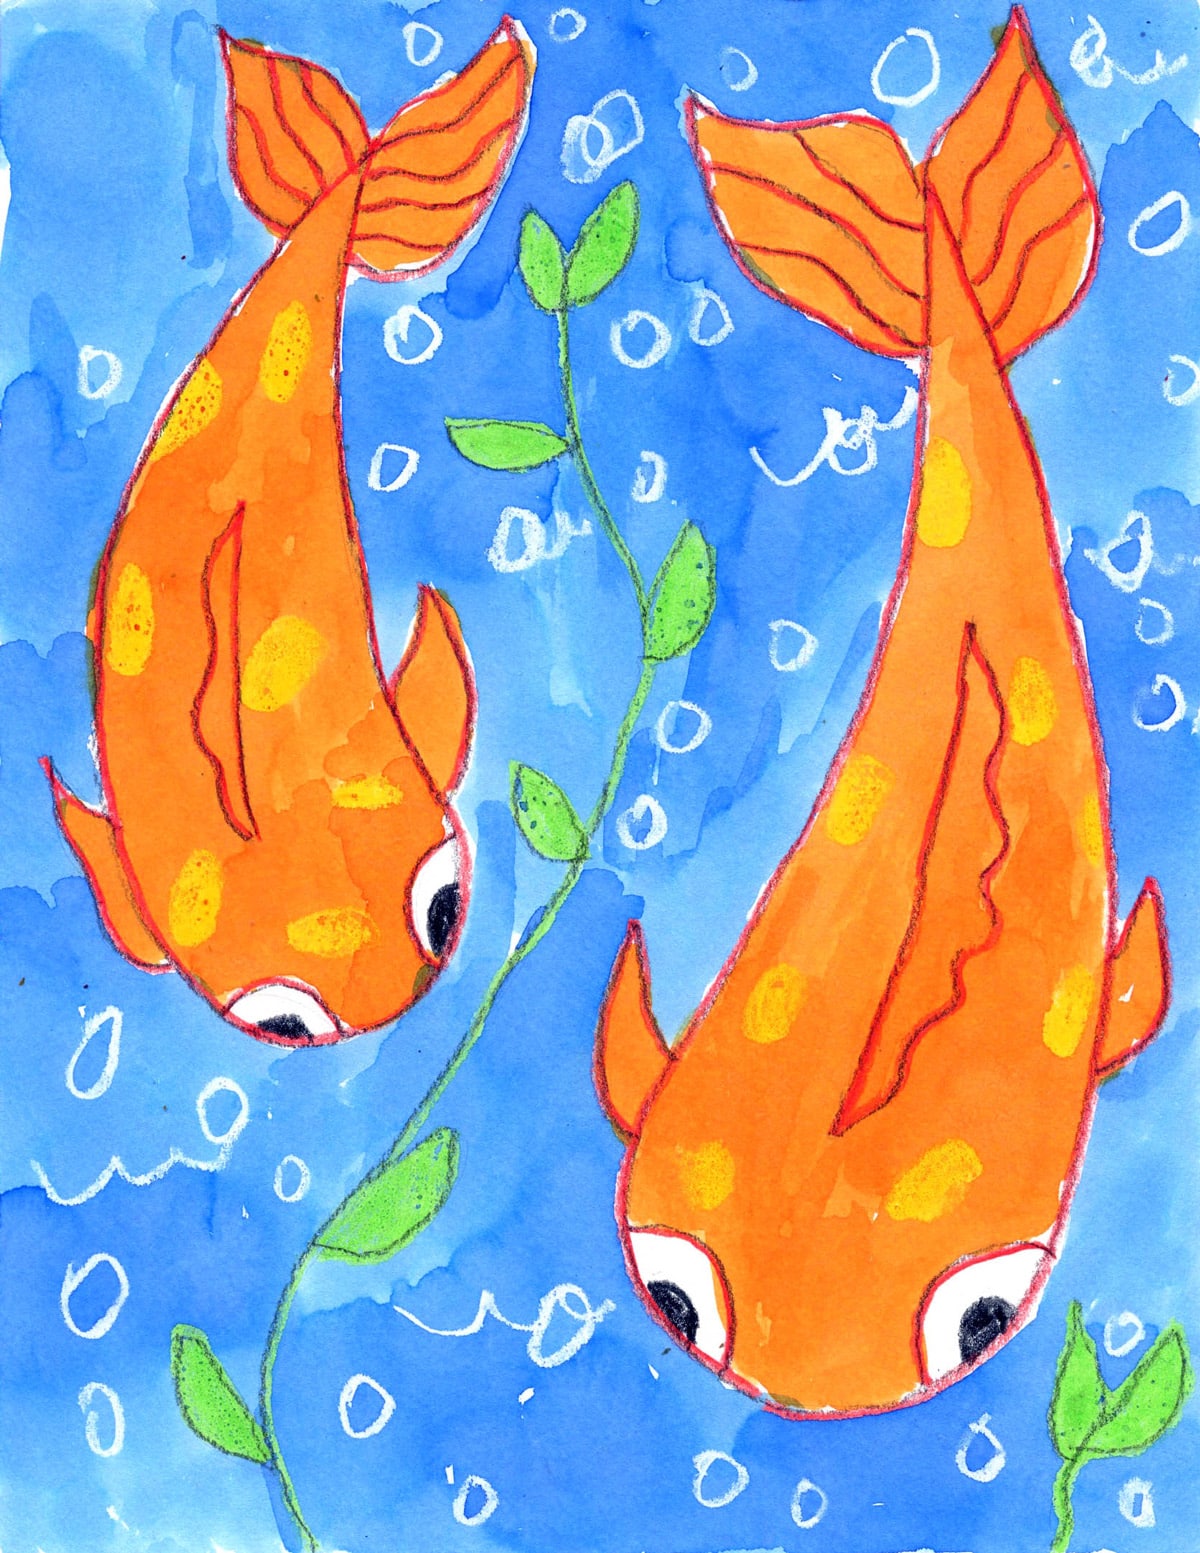
How To Paint A Koi Fish: A Step By Step Guide and Video
Learn more about Koi fish with an easy step-by-step Koi Fish tutorial and Koi Fish coloring page.


Why paint Koi Fish?
A tutorial for learning how to paint a Koi Fish has a lot to offer young students. The view from overhead keeps the shapes really simple and graceful. As a watercolor resist, there’s the fun of adding white crayon lines for bubbles (always fun when they appear!) and the blue and orange combination just make the fish pop off the page.
Join “The Daily Draw” below to get this tutorial!

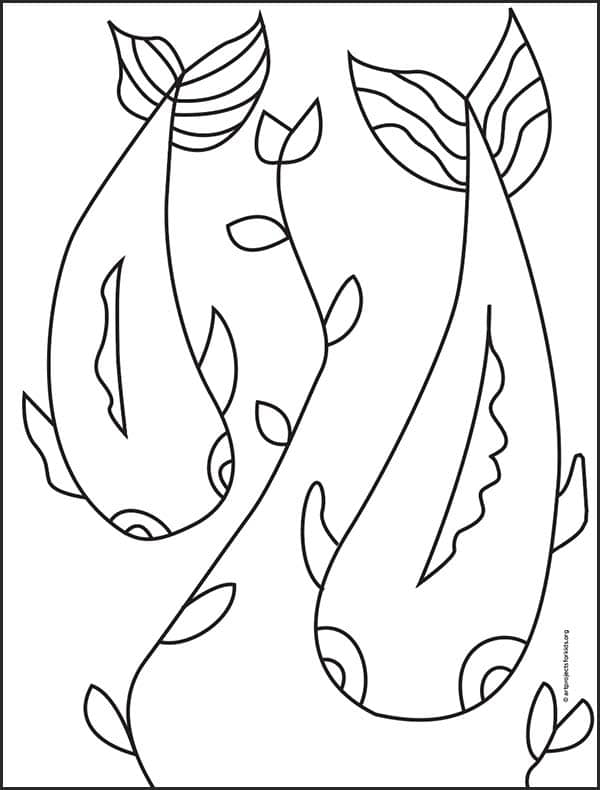
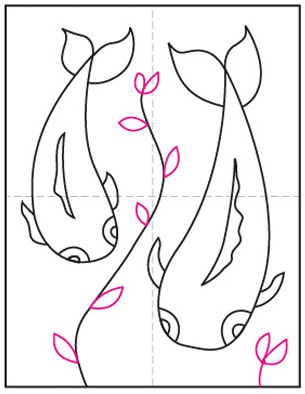
Koi Fish Coloring Page
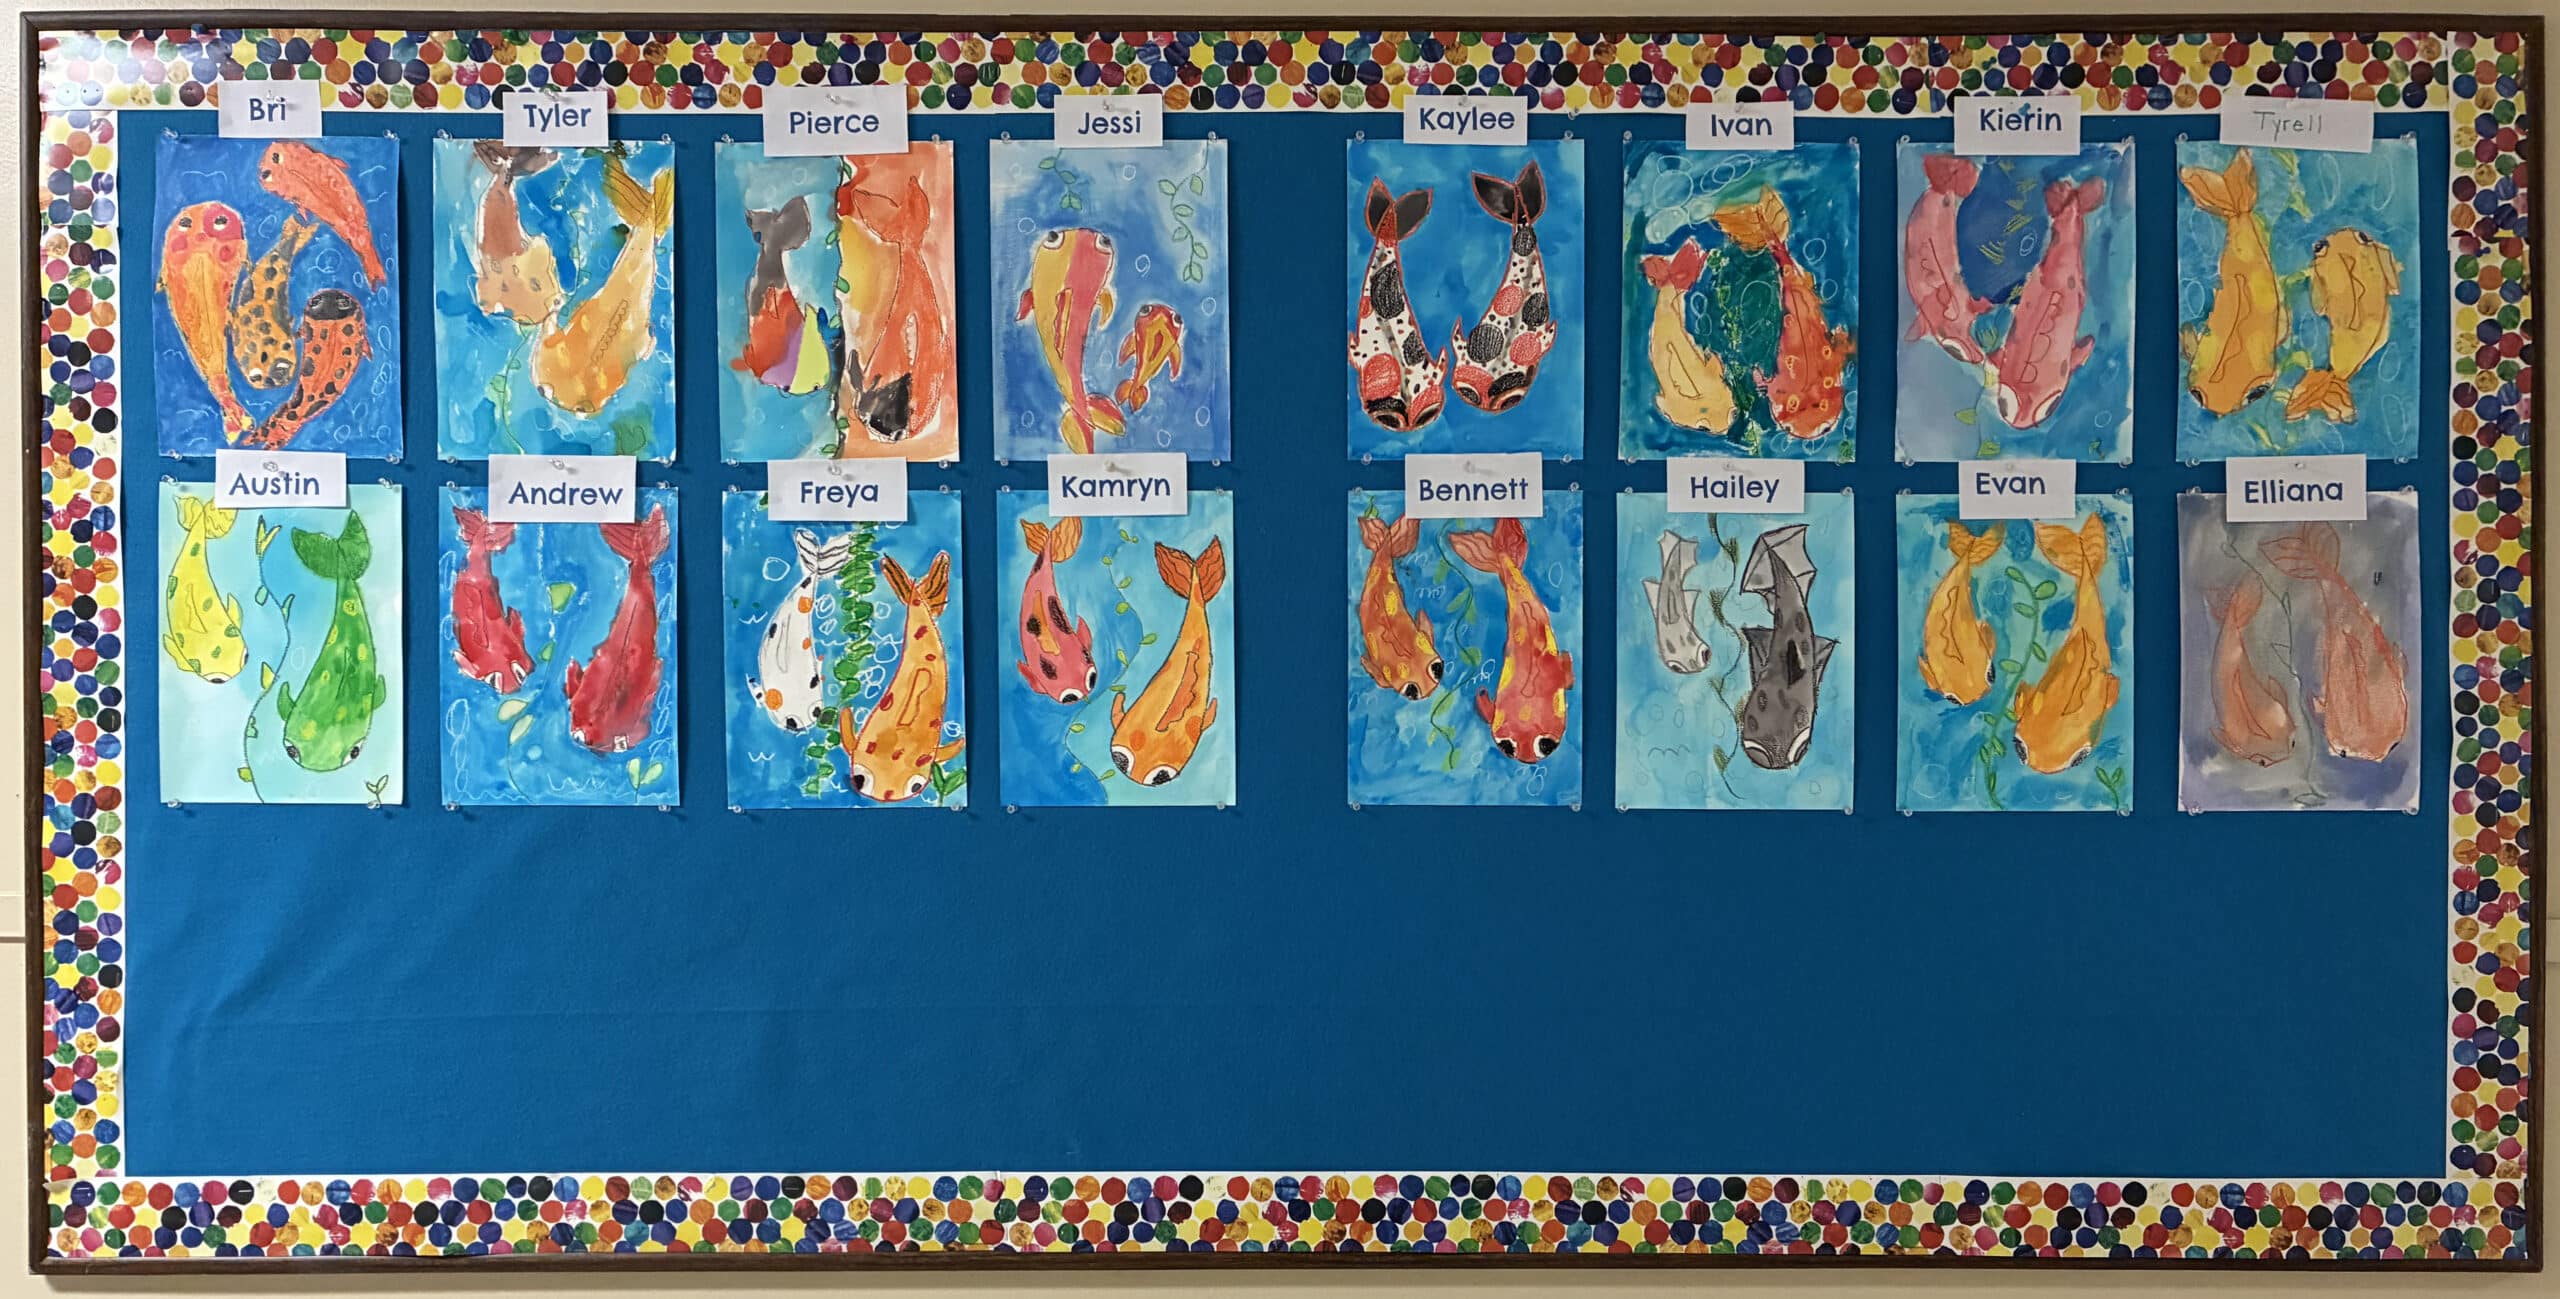
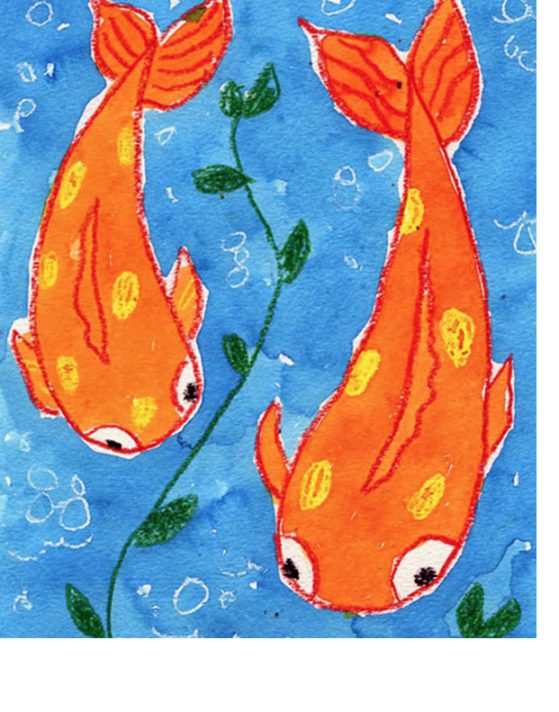
Student Art Gallery

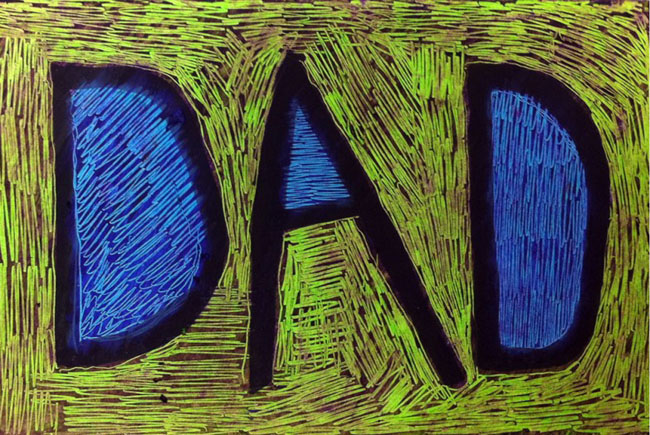
Look what this clever teacher in Spain made to display her student’s Koi Fish paintings. Such a fun idea!
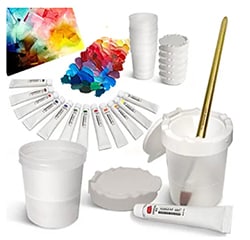
Materials to Paint a Koi Fish
• Affiliate links. If you click I may be compensated in a small way.
Watercolor Paper*
Amazon affiliate link
Liquid Watercolors*
Amazon affiliate link
Metallic Markers*
Amazon affiliate link
Crayons*
Amazon affiliate link

Non Spill Paint Cups*
Amazon affiliate link
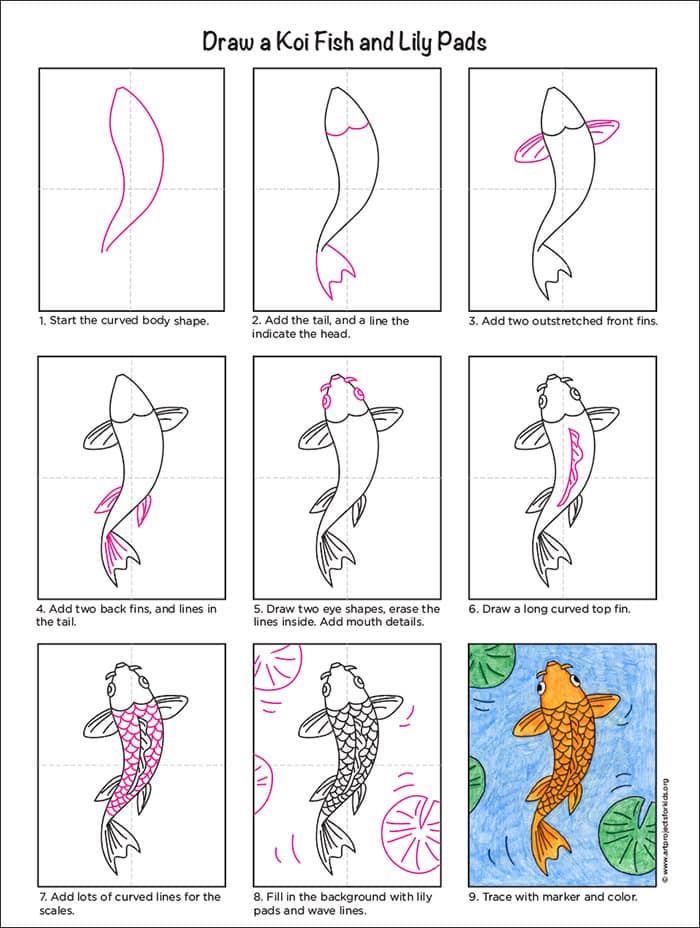
How to Draw and Paint a Koi Fish Directions
Time needed: 1 hour
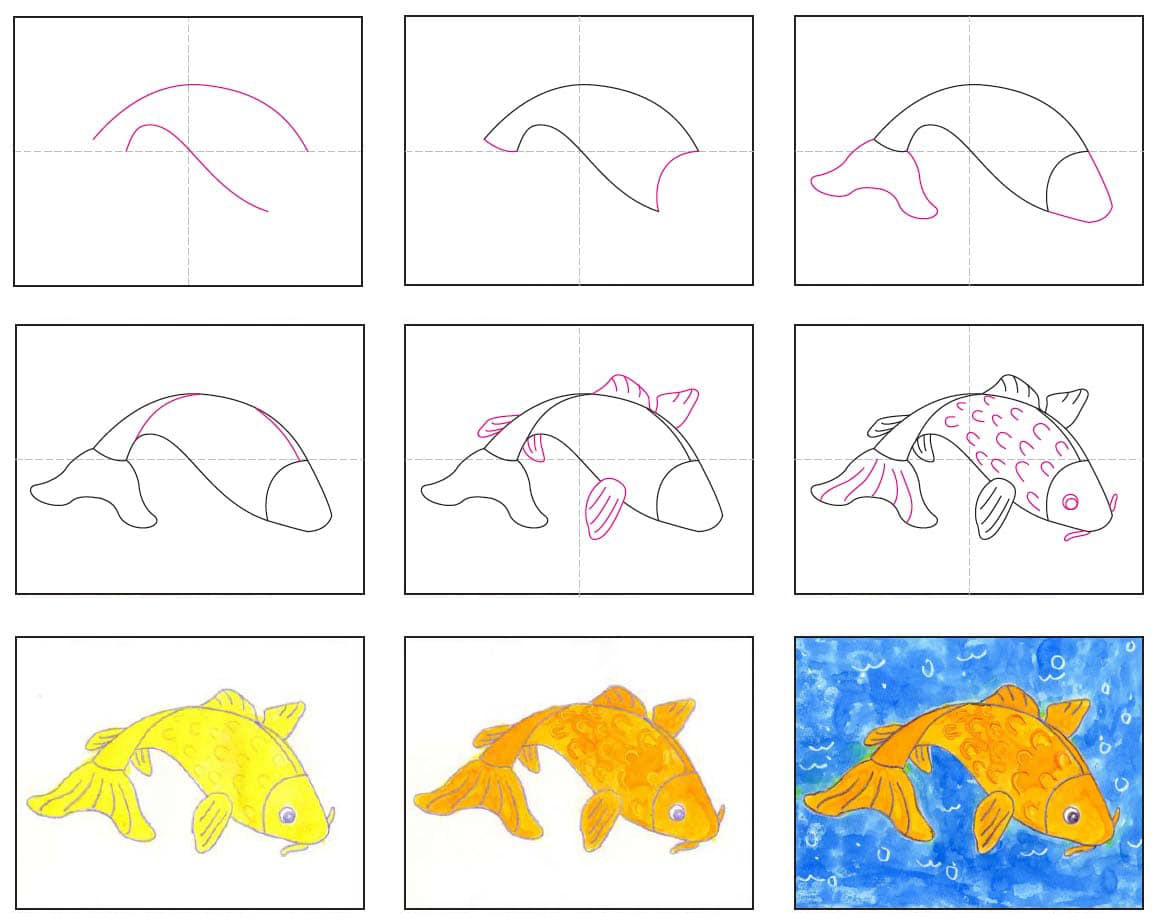
How to Paint a Koi Fish in 9 Easy Steps
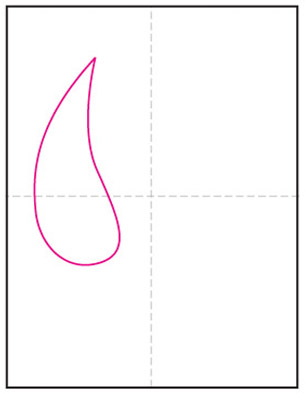
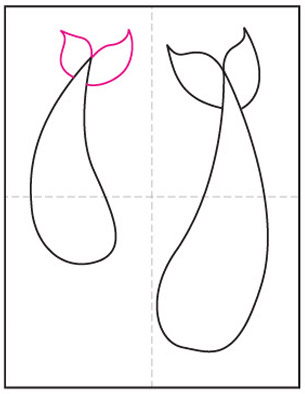
- Draw a medium teardrop shape.

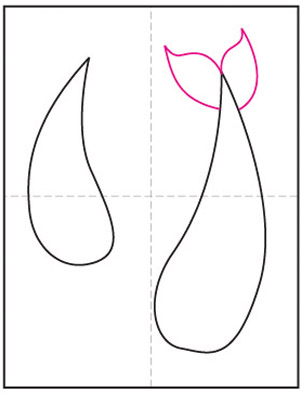
- Draw a large teardrop shape.
- Add a tail to the large fish.
- Draw a tail on the medium fish.
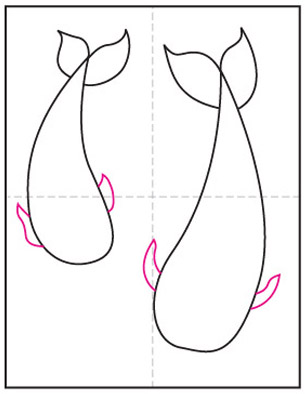
- Add pectoral fins to both fish.
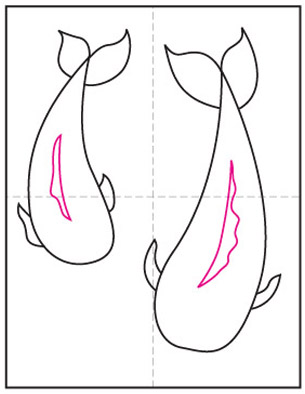
- Add a dorsal fin on the back of each fish.
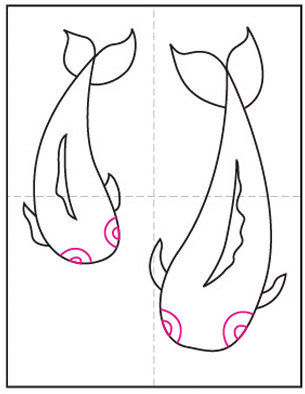
- Draw the tops of the eyes.
- Draw wavy plants in between.
- Trace with a crayon and paint with watercolor.


Already subscribed to “The Daily Draw”?
Great, then use the button below to get your free Koi Fish tutorial.
And thanks for wanting to bring more step-by-step, no-prep art lessons to your classroom!
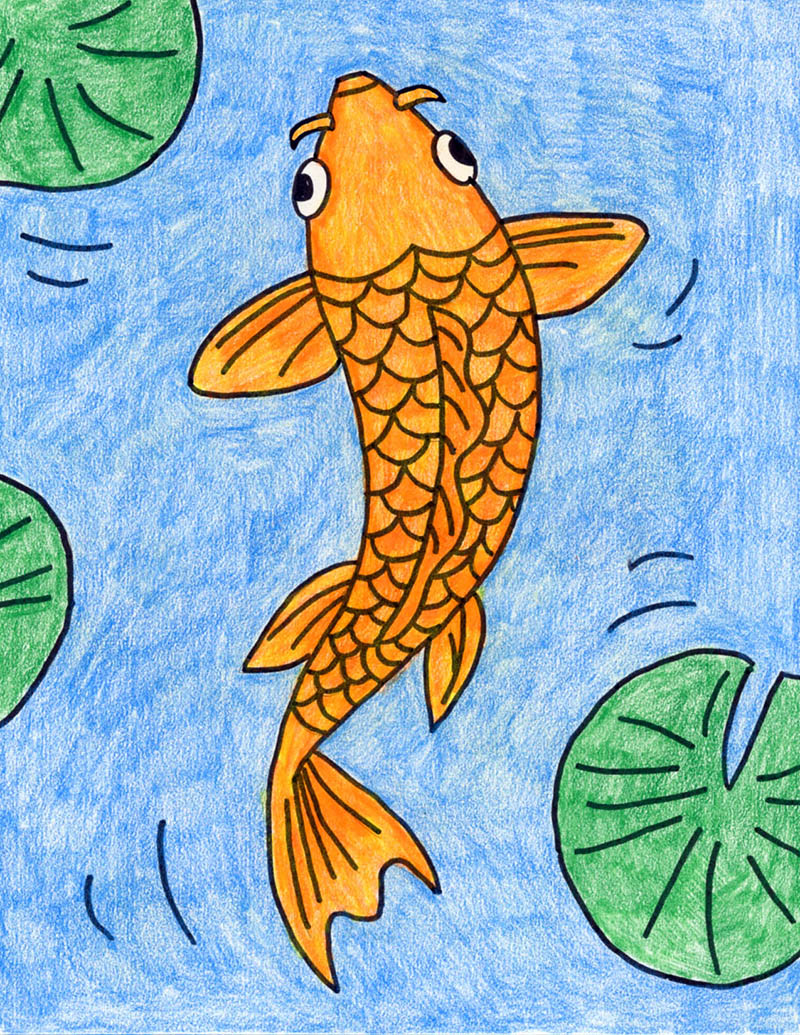
Another Koi Fish Painting Project
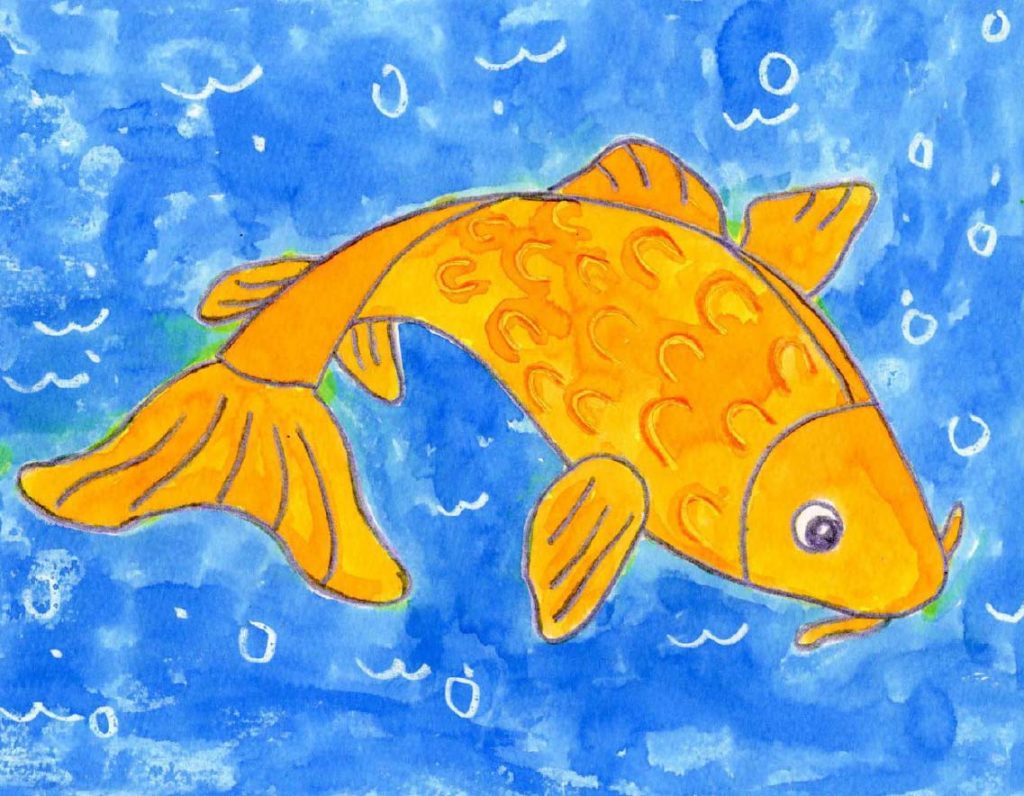
Koi Fish and Lily Pad