Art Projects for Kids
Stop searching. Get no-prep, step-by-step elementary art lessons delivered daily (it’s free)!
Stop the Sunday Search
For teachers who are tired of having their Sundays swallowed up by lesson planning, Art Projects for Kids has a free daily email that serves up easy-to-use art projects your students will love — without ever opening Pinterest.
The only options most teachers have for how to find art lessons is by spending hours weeding through the millions of ideas that come up on Google and Pinterest. Or to scour Teachers Pay Teachers for expensive supplements to your local curriculum. Or to try to force-fit the overwhelming school art program that requires all kinds of fancy materials (all in your “free” time, right?).
But even after giving up most of Sunday afternoon searching for ideas, all you turn up is one or two puny lesson plans with instructions that are about as easy to follow as IRS Form 13909. You need a faster way to find fun art projects with user-friendly directions that will engage your kids. But…how? Enter: Art Projects for Kids.
ART PROJECTS FOR KIDS CREATOR, KATHY BARBRO
Prep Your Art Lesson Plans, Effortlessly
The Art Projects for Kids step-by-step method of elementary art instruction breaks the often anxiety-inducing subject of art down into a simple, fun process (for students AND teachers) that boosts your students’ confidence and allows them to create with joy.
Each of your kids can set their own pace to create artwork they can be proud of. And you can feel empowered to instill your kids with the delight of creativity (even if you tend to be a left-brained, “in the box” thinker yourself).
But after 20 years in the classroom as an art teacher, I also know what it’s like to give up every Sunday afternoon (and most evenings) to plan the week’s lessons. You shouldn’t have to give up all your free time to bring your students meaningful art instruction. That’s why at Art Projects for Kids, you’ll find a variety of easy, step-by-step lessons your kids will love all in one place. The result is an instant extra 90 minutes minutes back in your weekend — just by signing up for our emails (and it’s free!).


No more feeling guilty for not having the bandwidth to thoughtfully integrate more art projects into your lessons. No more cringing at not coming up with more “creative” ideas and projects to put on your bulletin boards. No more doubting your ability to teach art. No more feeling helpless when your kids are too afraid to create.
Instead, enjoy a classroom brimming with perseverance and playfulness. Wake up looking forward to walking into your classroom armed with your easy lesson plans and even videos you can play for your class. Smile as you watch your creative kids discover that, yes, they CAN have fun doing art. Feel truly prepared (maybe for the first time ever). Treat yourself to a relaxing Sunday with your feet up. Maybe even reading a book that didn’t come out of the kids section of the library. And know that your (free) email membership to Art Projects for Kids is powering all of this, like your magical teaching fairy godmother. And even when you rest? It won’t.
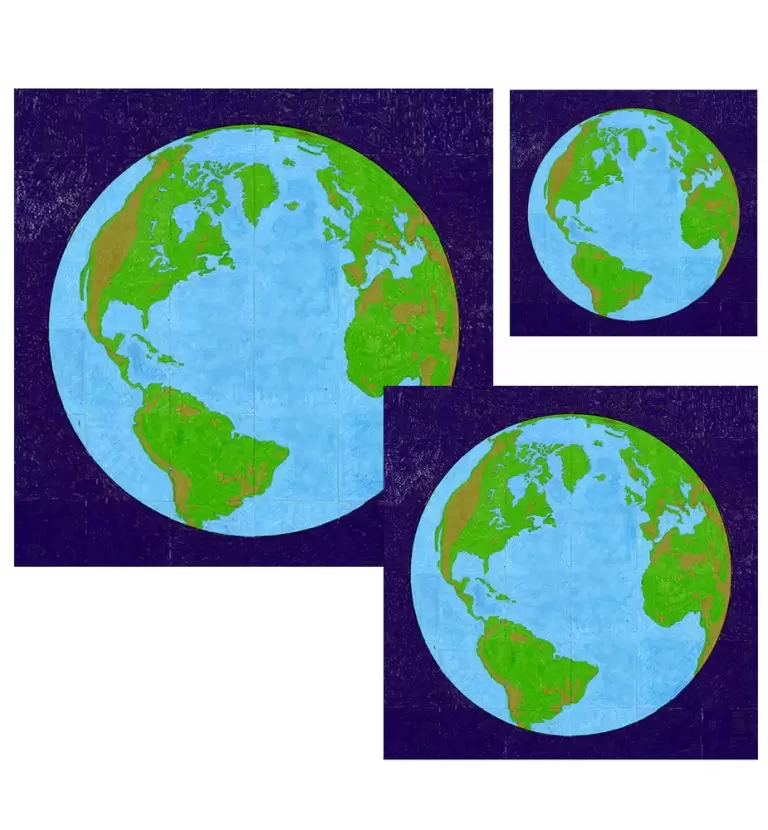
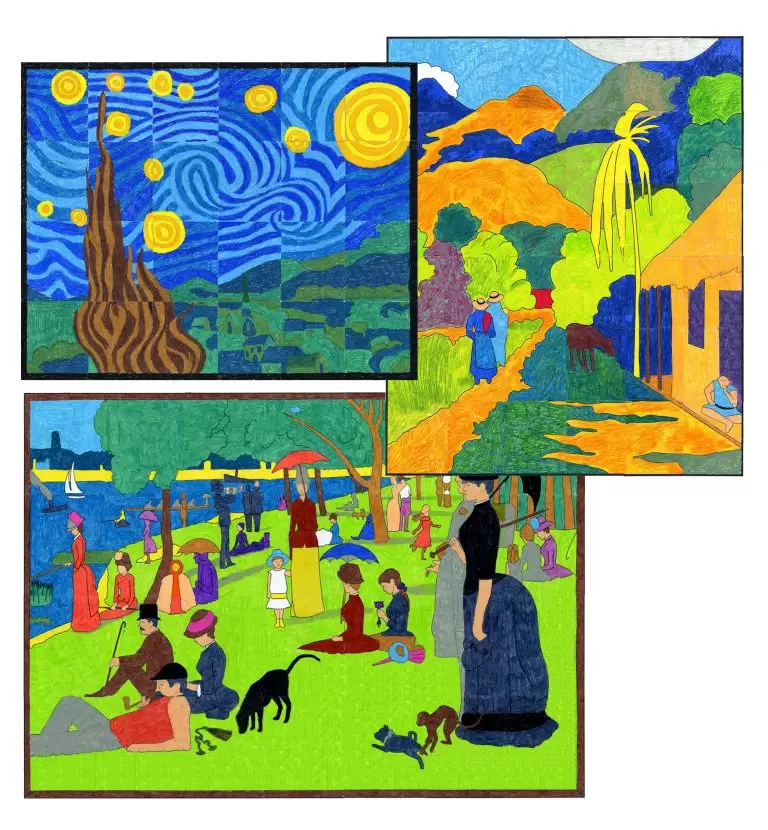
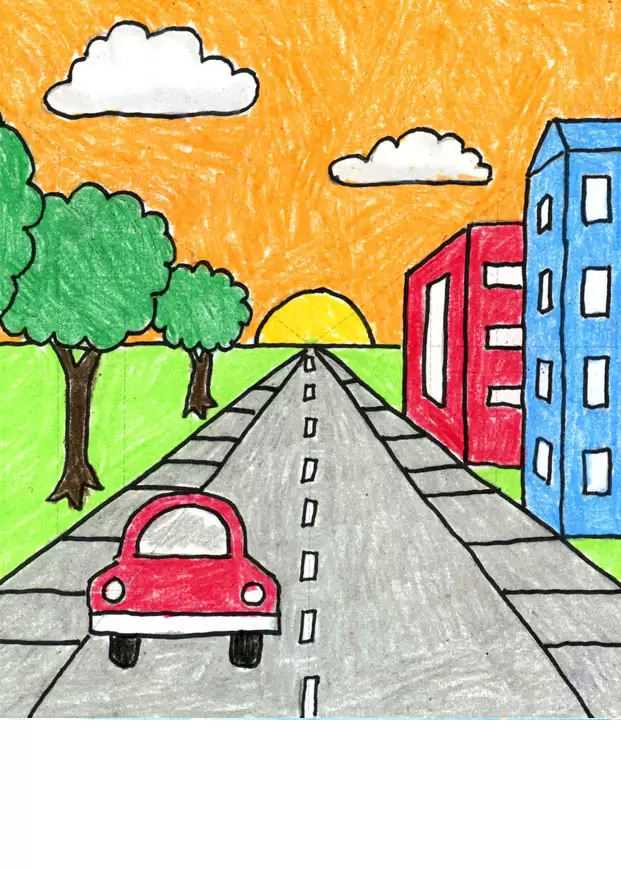
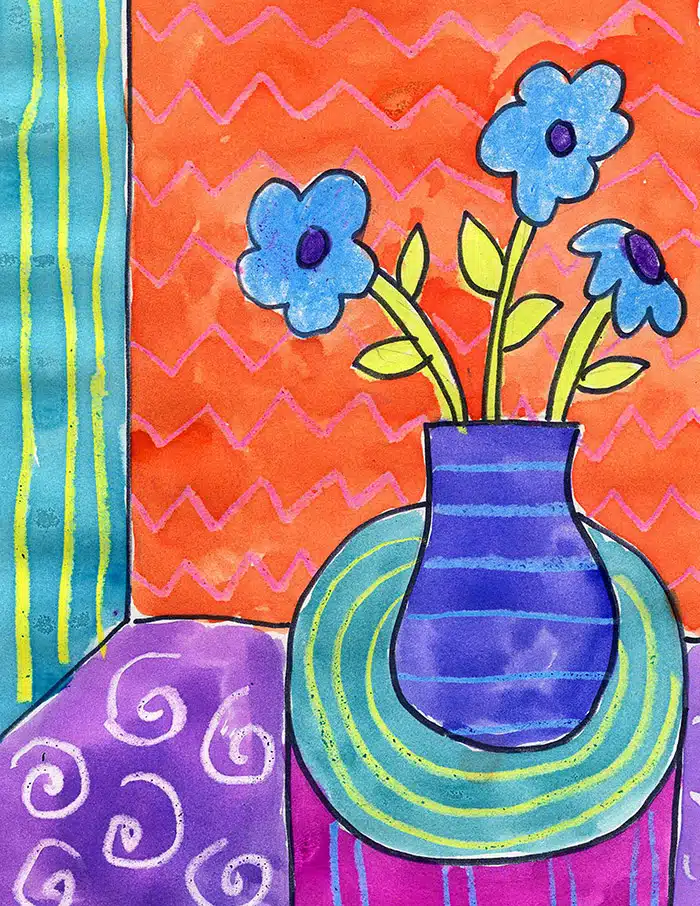
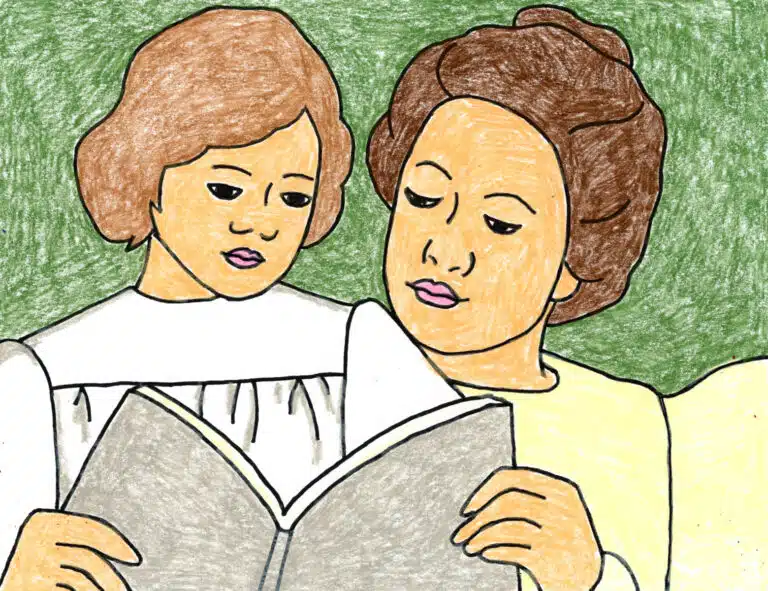
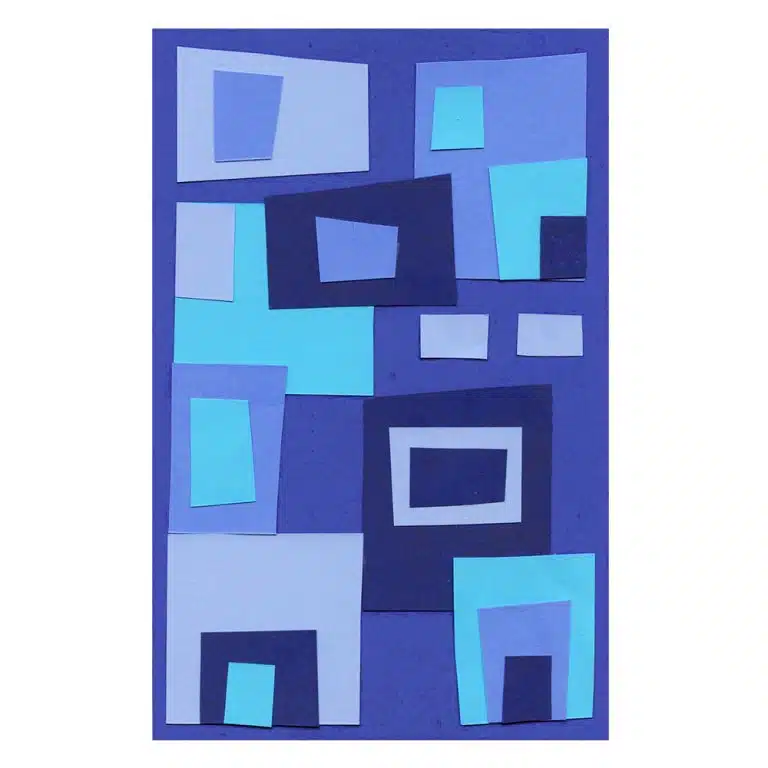
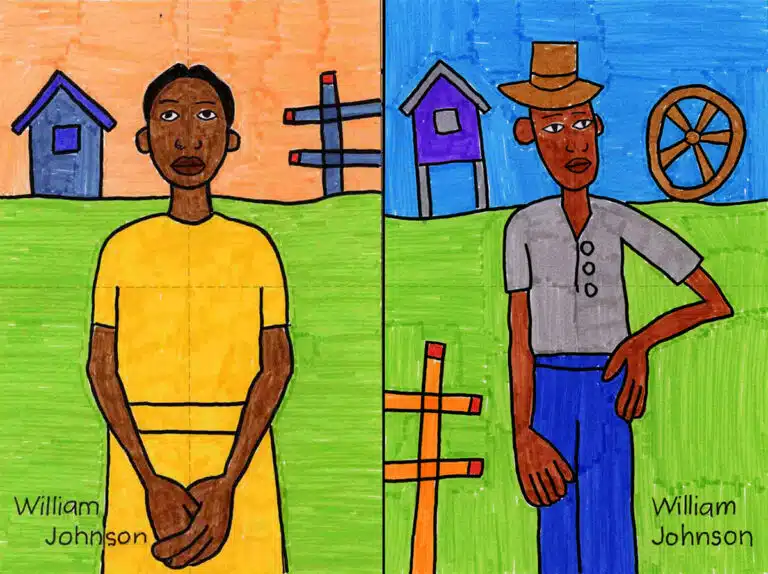
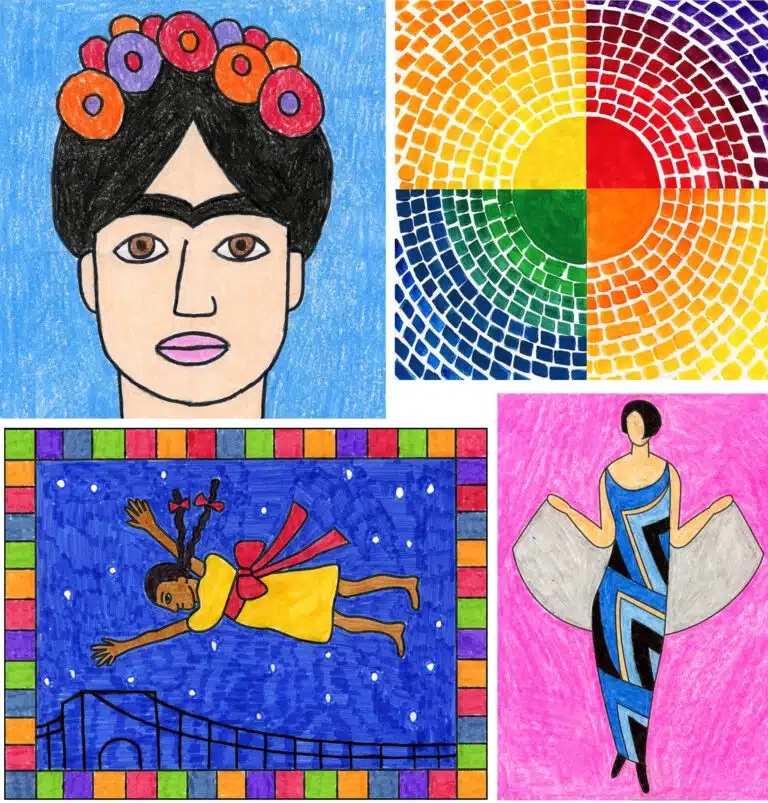
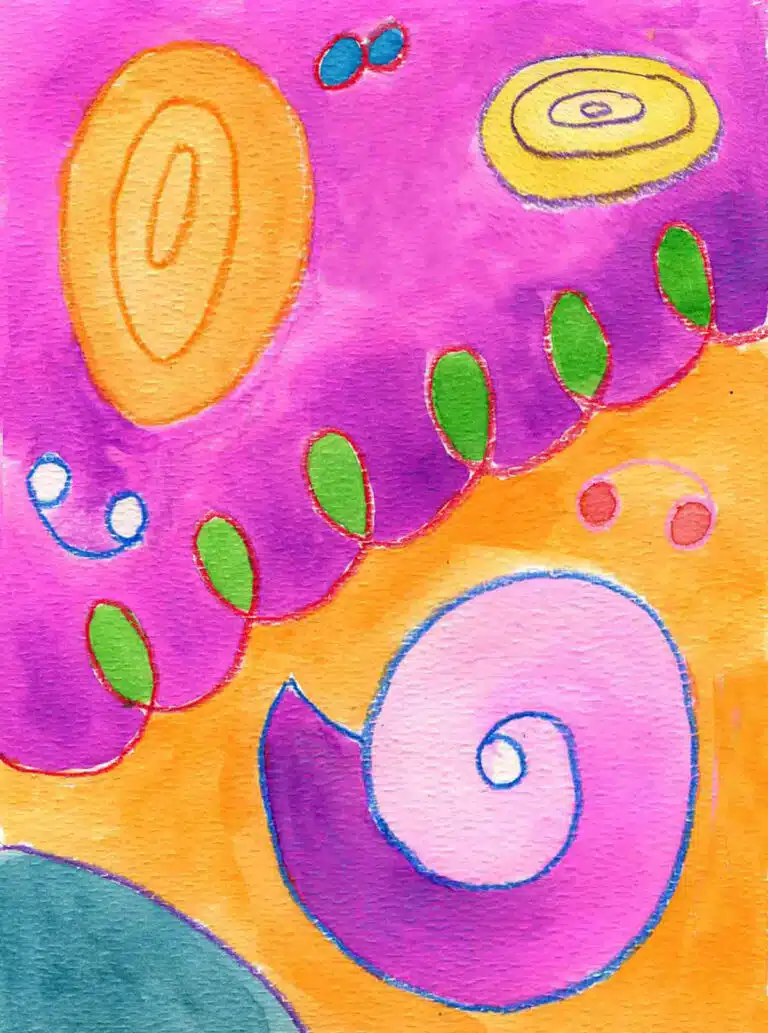
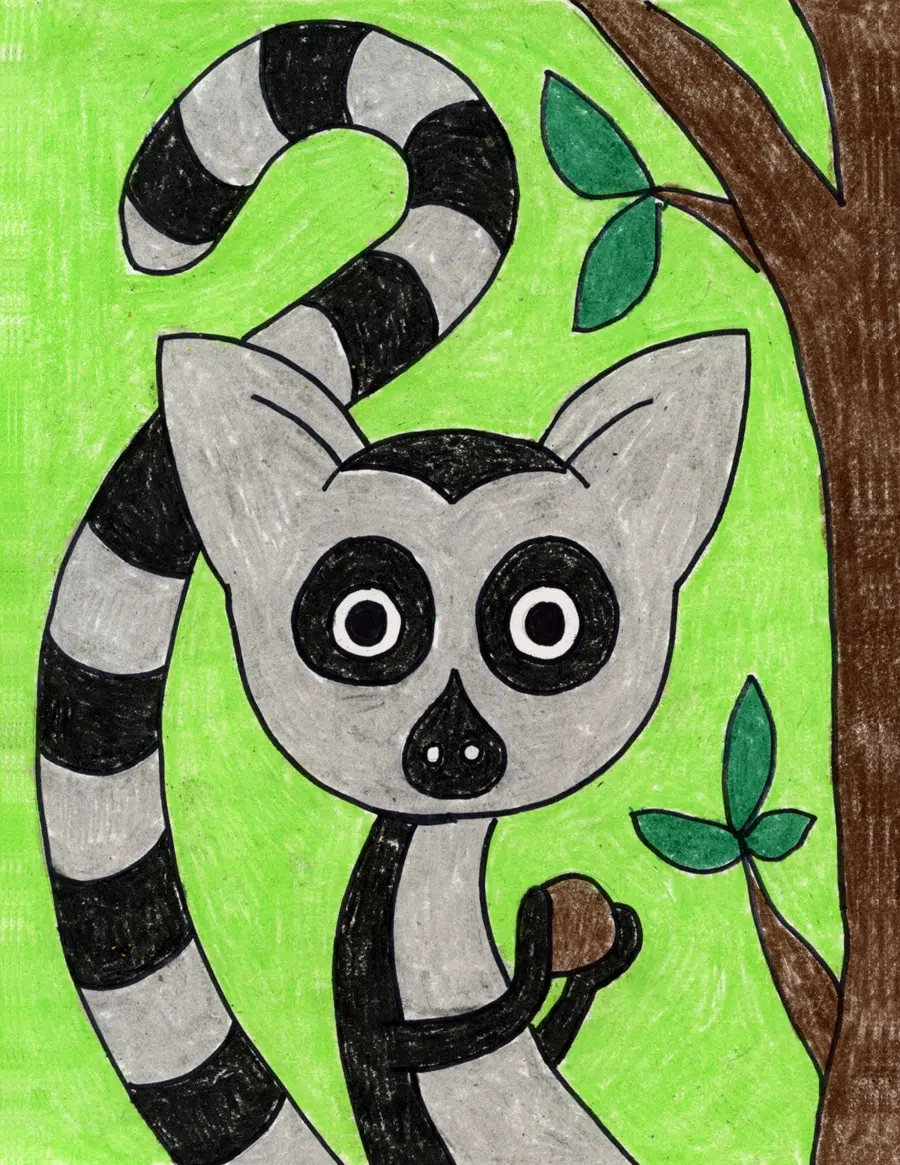
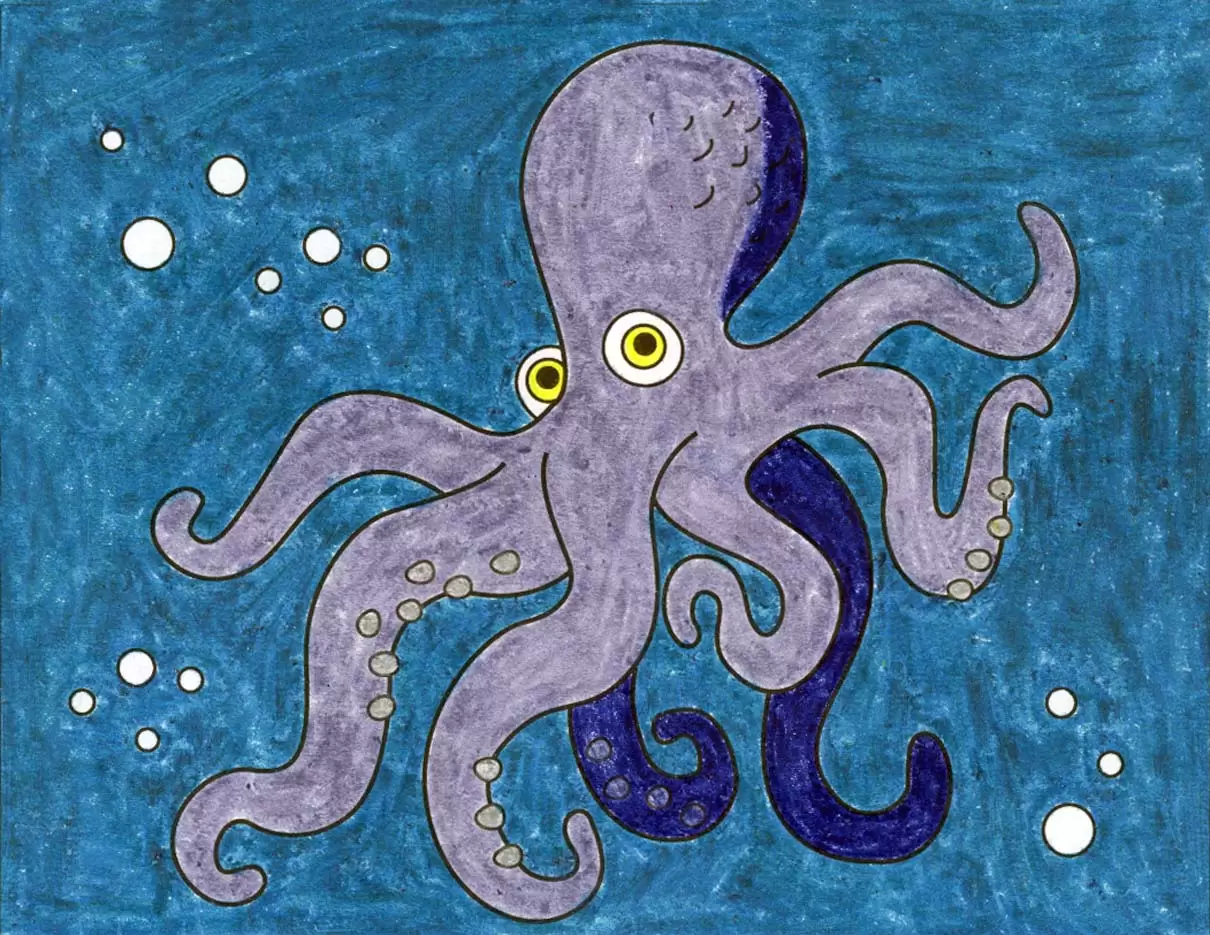
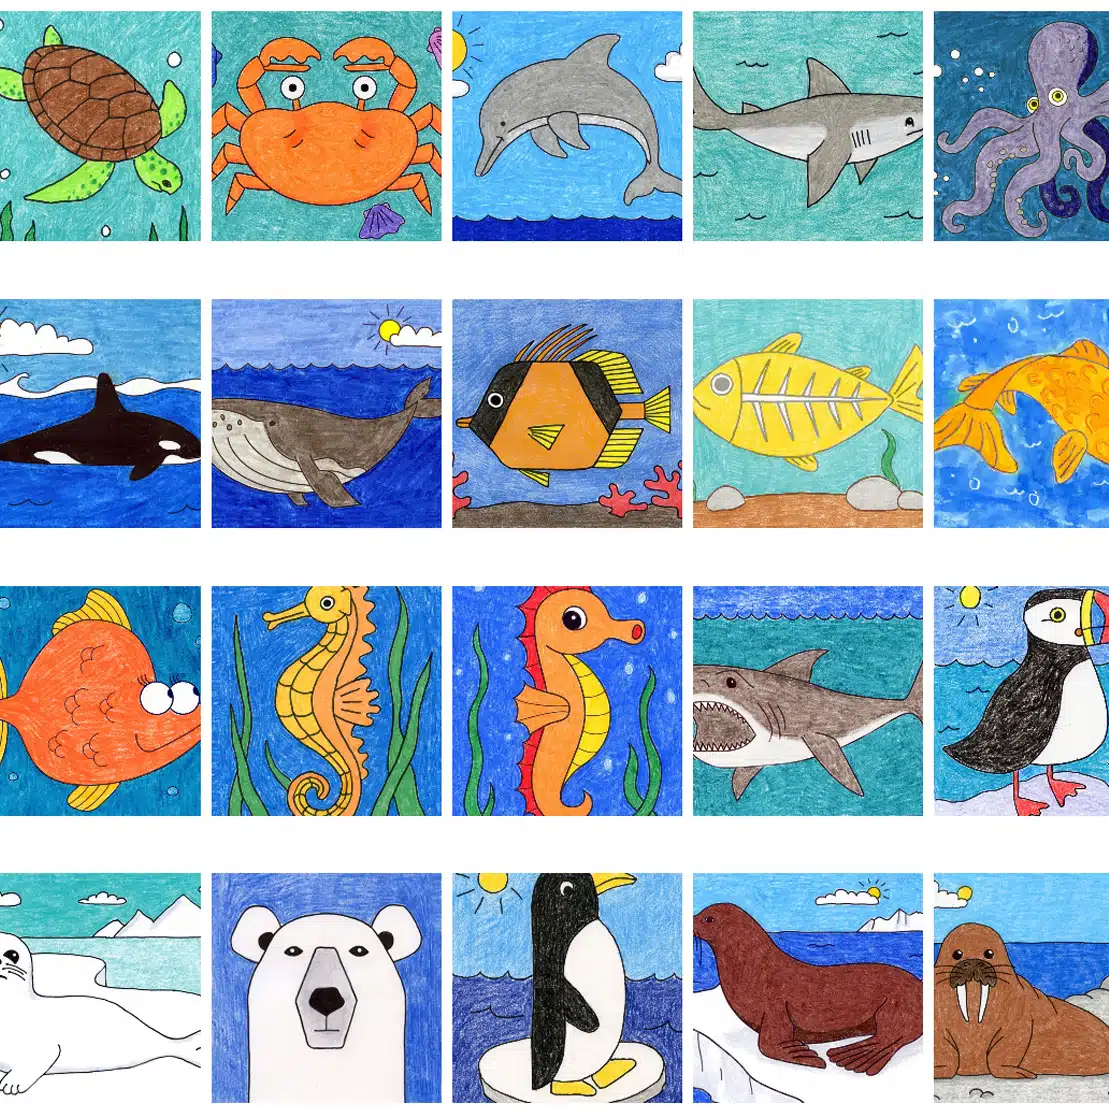
Find Literally Any Picture Your Students Want to Draw, All In One Place
View Project Ideas by Grade Level


You won’t have to spend all day searching Pinterest for ideas. You won’t have to spend hours prepping or studying the art lessons. You won’t need to beg your administration or parents for high-end supplies or purchase expensive curriculum.
All you have to do is say “yes” to the Art Projects for Kids daily email and watch as the 3,152 minutes you’re losing each year to searching for art activities slowly come dripping back into your life. Because what busy teacher doesn’t want another 3,152 minutes per year without doing anything differently at all? Get the Art Projects for Kids daily email, and let us do the heavy lifting for you.